Carbon Fiber & Aeroforce scan guage for the LT1...Pics
 05-02-2006, 02:41 PM
#1
Average GTcars Poster
Thread Starter
Join Date: May 2005
Location: Texas
Posts: 400
Rep Power: 706 
Carbon Fiber & Aeroforce scan guage for the LT1...Pics
Well, I finally decided where I wanted to put the Aeroforce gauge in the WS6. I was looking for a way to make the guage look like a factory deal. Actually took quite a bit of time to custom make all the little pieces to fit this guage in the drivers side A/C vent.
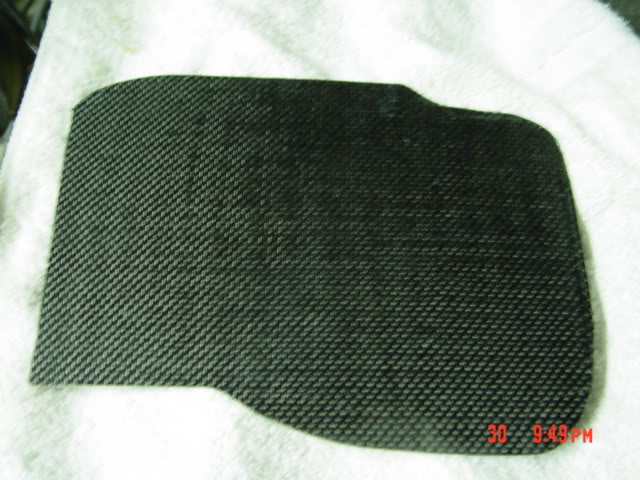
Pic of the sheet of Carbon Fiber:
I then proceeded to figure out my dimension and cut-out the carbon trim ring using a scroll saw at low speed. This peace actually sits down inside of the A/C vent hole and hold the guage from the front:

Cut-out a matching piece for the rear of the A/C vent made from 3/4 MDF:

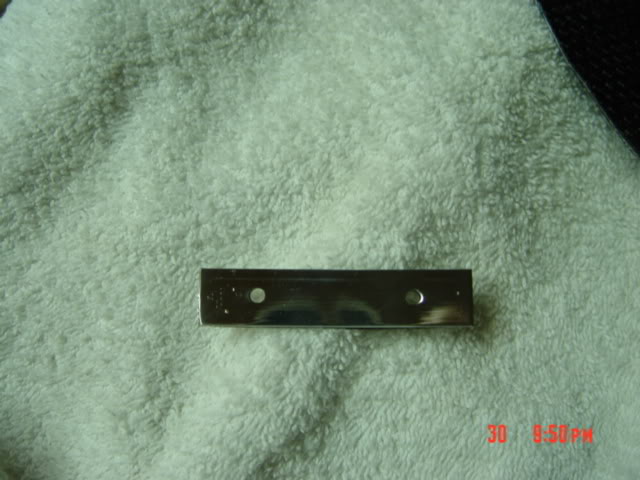
Then made a backing plate for the guage out of 1/8" flat aluminum and then polished the item:
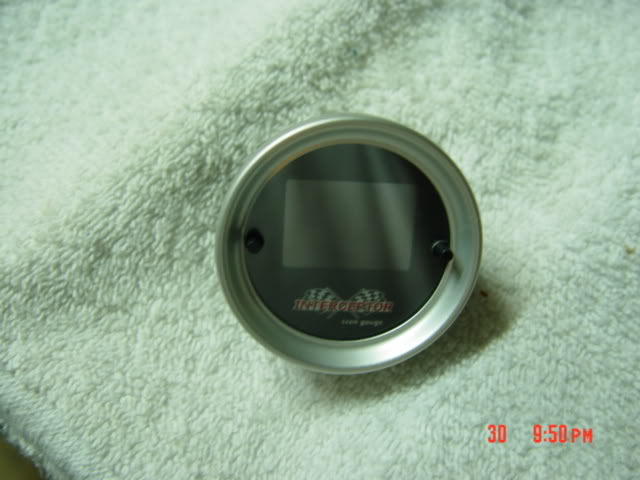
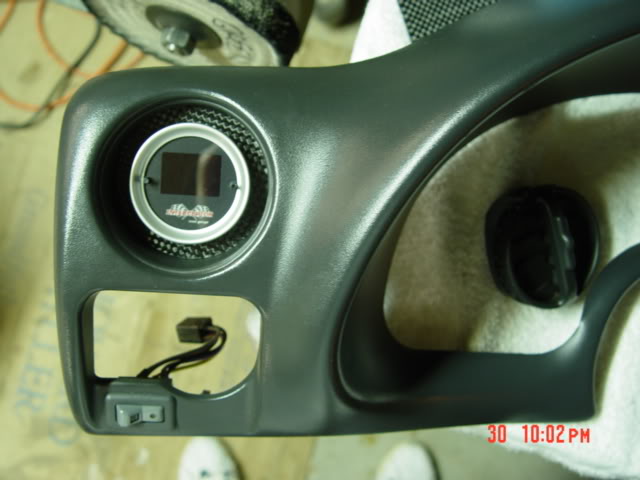
Pic of the Aeroforce scan guage. It looks at 27 different items on a LT1 through the OBD II port. I purchased one of the last special edition PONTIAC Aeroforce guages. When you initially start the car after 5 seconds or so the PONTIAC logo shows up on the screen and then the guage starts.
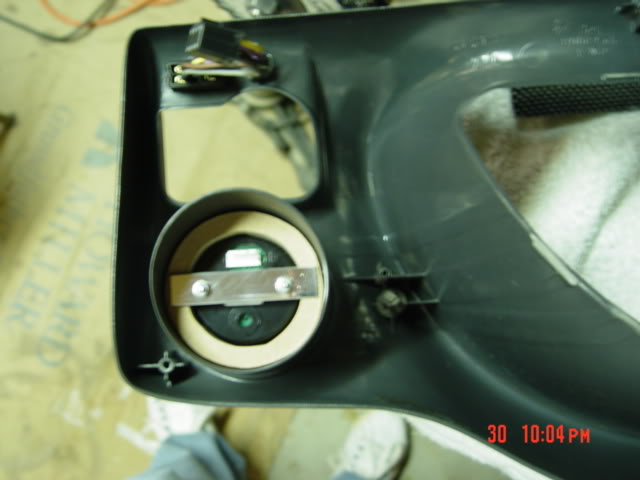
Shot of the back with the MDF donut ring and backing plate to hold the guage:
The final pic of the finished product. I can't believe how well this item looked as a finished product. If anyone has any questions on doing any of this please PM me for details. This was a pretty tedious process to get it to look factory, but well worth it in the end.
Pic of the sheet of Carbon Fiber:
I then proceeded to figure out my dimension and cut-out the carbon trim ring using a scroll saw at low speed. This peace actually sits down inside of the A/C vent hole and hold the guage from the front:
Cut-out a matching piece for the rear of the A/C vent made from 3/4 MDF:
Then made a backing plate for the guage out of 1/8" flat aluminum and then polished the item:
Pic of the Aeroforce scan guage. It looks at 27 different items on a LT1 through the OBD II port. I purchased one of the last special edition PONTIAC Aeroforce guages. When you initially start the car after 5 seconds or so the PONTIAC logo shows up on the screen and then the guage starts.
Shot of the back with the MDF donut ring and backing plate to hold the guage:
The final pic of the finished product. I can't believe how well this item looked as a finished product. If anyone has any questions on doing any of this please PM me for details. This was a pretty tedious process to get it to look factory, but well worth it in the end.


 Very nice!


