Gettin' there.. (Updated with Installed Pics)


 09-20-2005, 06:54 PM
#3
GTcars - Post God !
Thread Starter
Join Date: Sep 2003
Location: Macomb, Michigan
Posts: 6,032
Rep Power: 878 
Hold on, let me look on my ebay to see what it was I ordered...
Clear Epoxy & Resin, 1.25 Gallons - $36
Real Carbon Fiber Fabric 3k 5.7oz 2x2 twill 36x50 - $27
All the work I've done (minus the window switch trim, those were done with a different roll and rating. Otherwise, everything else was done with the 36x50 roll and I've pretty much used up all I can. Not bad if you ask me.


 09-20-2005, 11:58 PM
#12
GTcars - Post God !
Thread Starter
Join Date: Sep 2003
Location: Macomb, Michigan
Posts: 6,032
Rep Power: 878
Originally Posted by 2k2 camaro
is that hard? I want to try it on some stuff..
09-21-2005, 12:50 PM
#13
GTcars - Post God !
Thread Starter
Join Date: Sep 2003
Location: Macomb, Michigan
Posts: 6,032
Rep Power: 878
http://meissenation.com/pictures/2005-09-21/
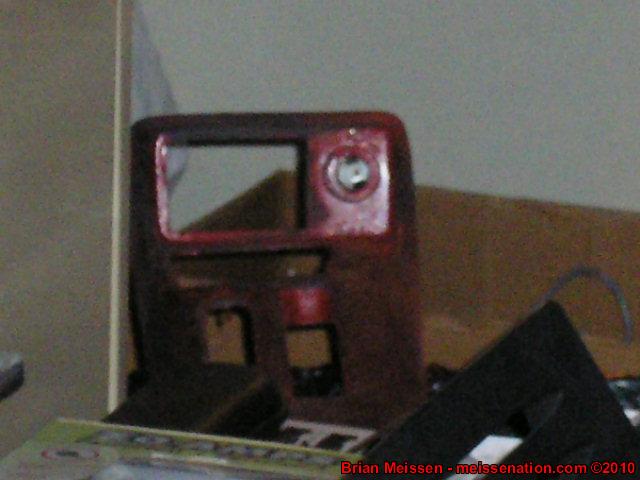
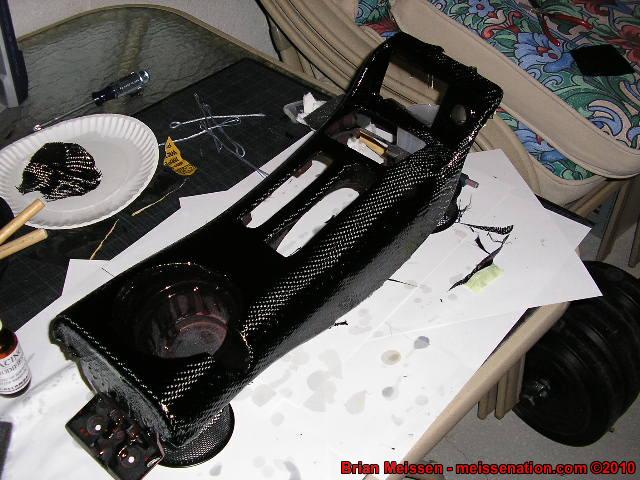
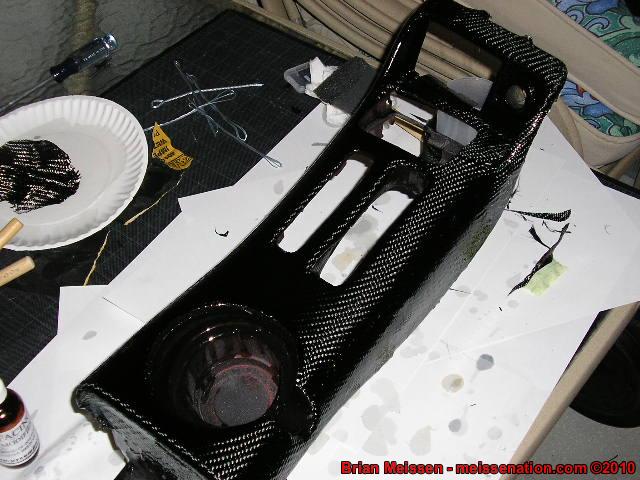
Grabbed a new exacto blade and trimmed away, it's REALLY easy to trim when it's such a thin weave (it's about the thickness of two pieces of paper), anyway here's some pics of the 2nd layer dried and everything trimmed. After the first layer dried, I did some sloppy trimming just to get the part where the ash tray and cubby hole is to lay down, but I didn't have enough to cover the part around the cuby hole and where the 12v plug is, so I had to use touchup paint to paint that... hopefully the 3rd layer of resin will give it a cool 3d effect
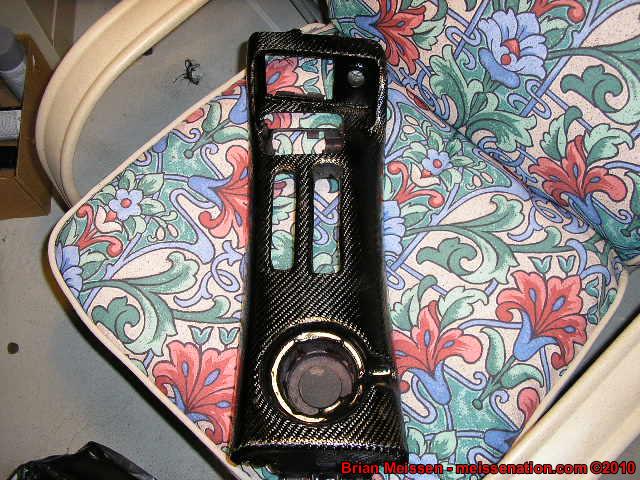
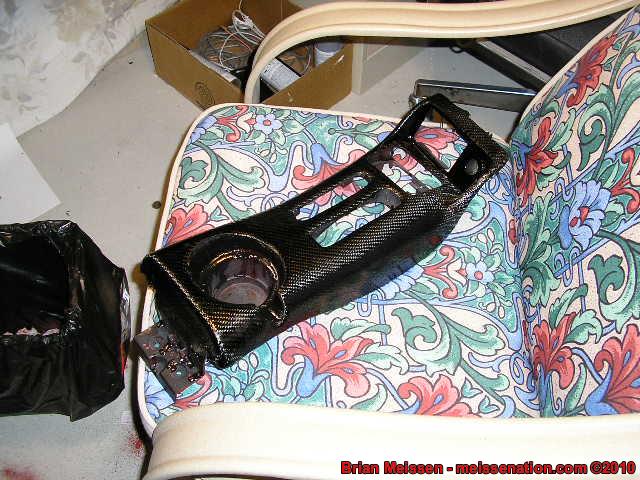

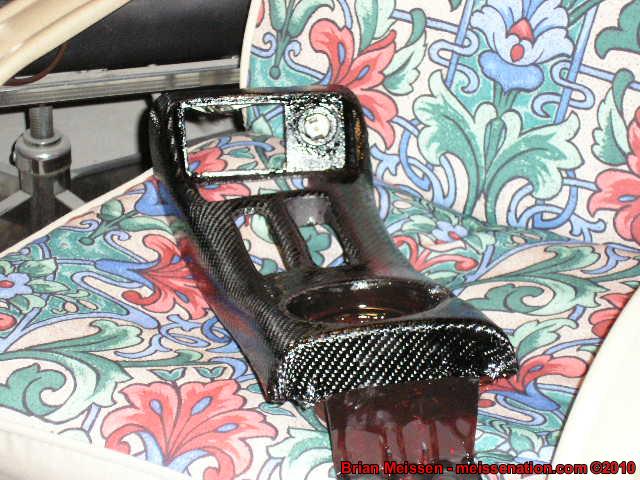
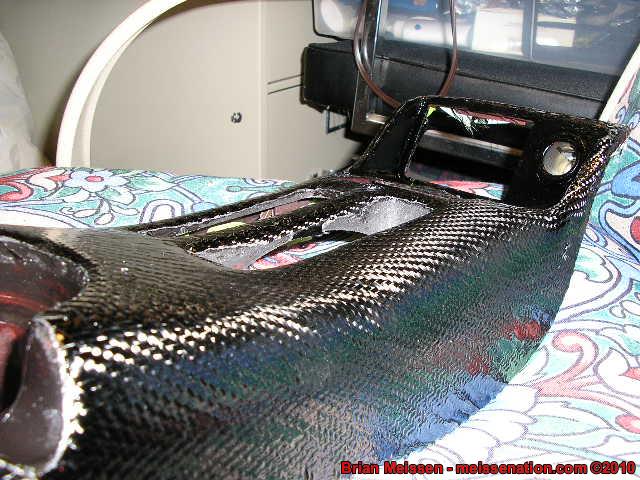
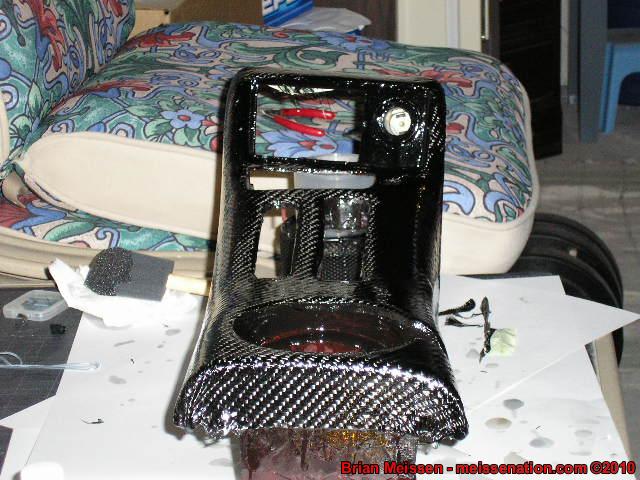
And the 3rd layer, still wet:
And a high-res image just to give a better idea since the lighting is so bad:
http://meissenation.com/pictures/200...iber%20014.jpg
Grabbed a new exacto blade and trimmed away, it's REALLY easy to trim when it's such a thin weave (it's about the thickness of two pieces of paper), anyway here's some pics of the 2nd layer dried and everything trimmed. After the first layer dried, I did some sloppy trimming just to get the part where the ash tray and cubby hole is to lay down, but I didn't have enough to cover the part around the cuby hole and where the 12v plug is, so I had to use touchup paint to paint that... hopefully the 3rd layer of resin will give it a cool 3d effect
And the 3rd layer, still wet:
And a high-res image just to give a better idea since the lighting is so bad:
http://meissenation.com/pictures/200...iber%20014.jpg
09-21-2005, 07:35 PM
#14
Skilled GTcars Poster
Join Date: Oct 2004
Location: Alabama
Posts: 701
Rep Power: 730
hey bro do me a favor and pm me with the details of who you bought each of the different types of fiber from and your opinions on what i should use.. not sure if i can make it work on my existing pieces without destroying my current dash kit and iono if i can bring myself to do that considering im an amateur at this self applying carbon
