
OCDetailing Detailed: BMW 335i RIDS Central

Thread Starter
~~ Hardcore Newb ~~
Joined: Mar 2009
Posts: 23
From: Toronto
Rep Power: 626 
OCDetailing Detailed: BMW 335i RIDS Central
Hey everyone,
Had a client bring in his 335i originally for a one step polish but upon review of the vehicles paint there were tons and i mean tons of RIDS. The vehicle had light swirling which was easily taken care off. I resorted to Sonus Yellow and Power Finish and Sonus White with 3M Ultrafina for the swirling and for the RIDS and certain heavily swirled areas around the driver door, passenger door and bumper area with Sonus Yellow in combination with PG, followed up with SONUS white SIP, SONUS white PF, SONUS BLUE Ultrafina. For RIDS that did not come in bunches I resorted to LC Spot pads to keep the heavy polishing down to a minimum to keep the integrity of the clearcoat.
The client was great and understood the need to take the neccesary time to complete the work properly and I appreciated his patience. He car is his daily driver and has chalked up many healthy kilometres.
Anyways to the process and pictures.
Wash
2 Bucket Method
Meguiars Gold Class
1 bucket for Wheels
Wheel Brush
Tire Brush
EZ Detail Brush
Sheep Skin Mitts
Paint Correction
Sonus Yellow
Sonus White
Sonus Blue
LC 4 inch Yellow
LC 4 inch Orange
LC 4 inch White
Menzerna Power Gloss
Menzerna SIP
Menzerna PF
3M Ultrafina
3M Backing Plate
RB Backing Plate
Metal Polishing (exhaust tips)
3M Ultrafina
P21S Metal Polish
0000 Steel Wool
Equipment
2 Halogen Lights
3M Sun Gun
Fenix TK10
Air Compressor
Metabo Polisher
Metabo x 2
LSP
Zaino Z2Pro
Zaino Grand Finale
Befores
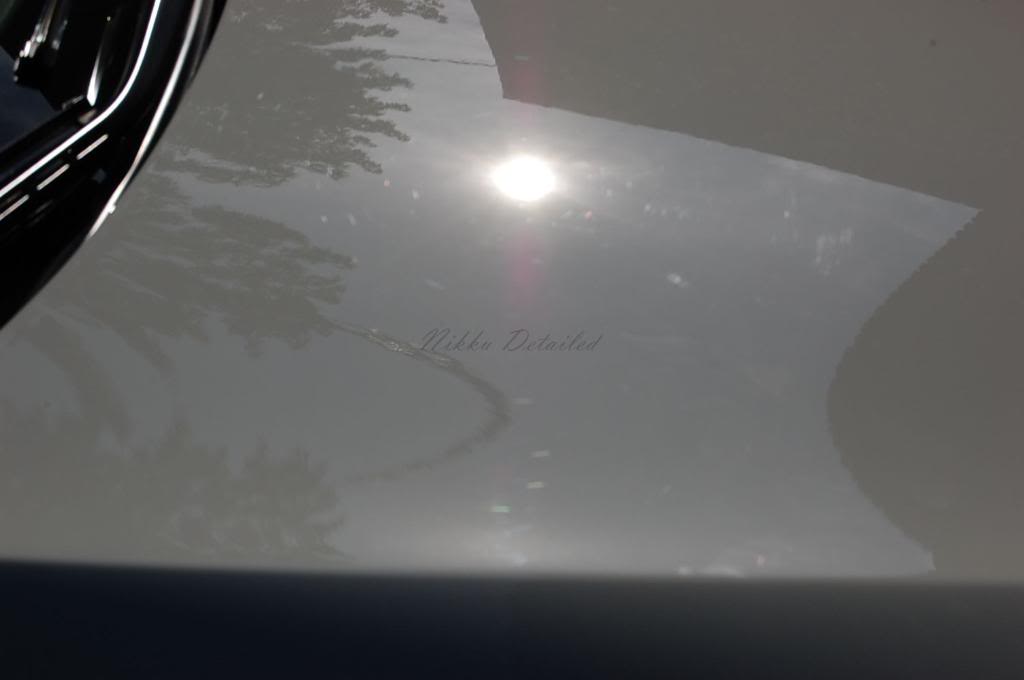
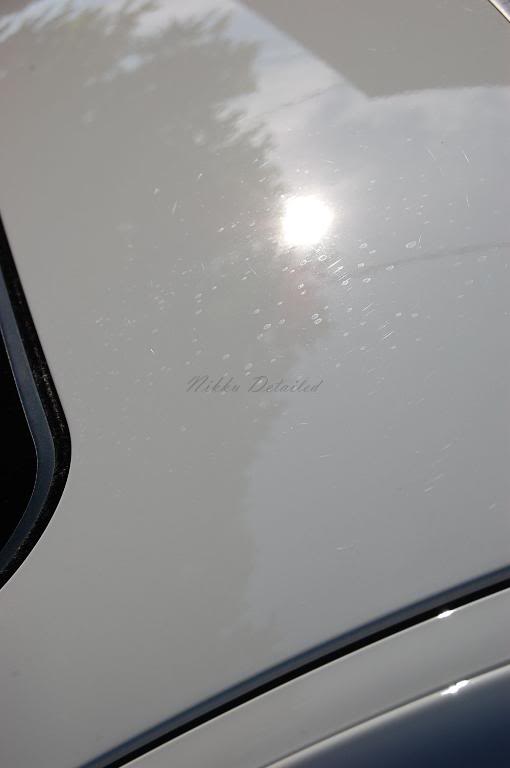
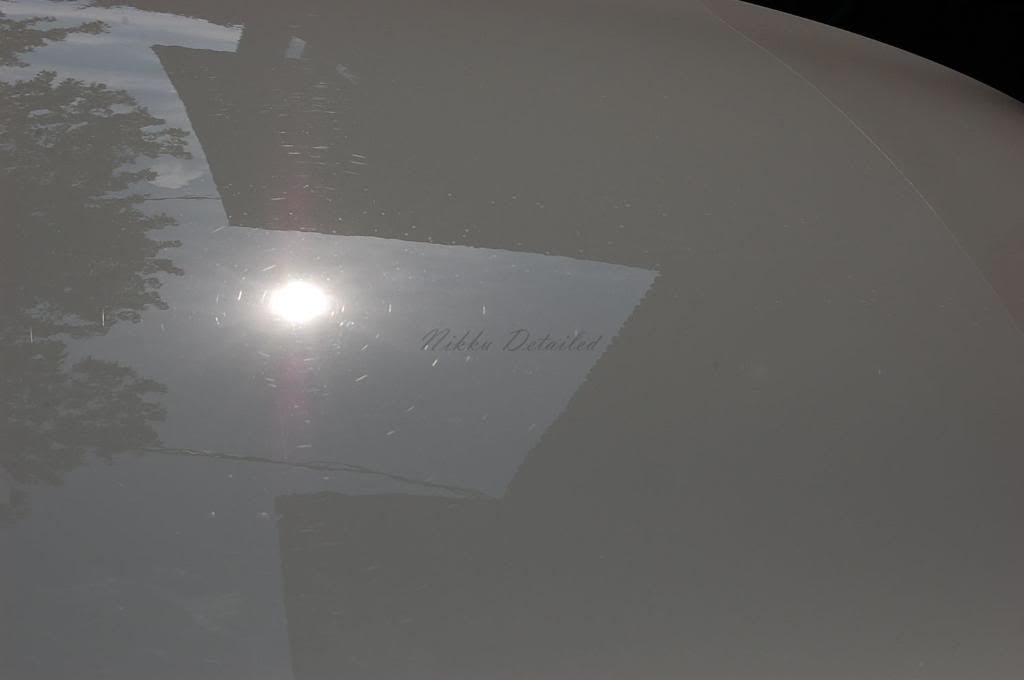
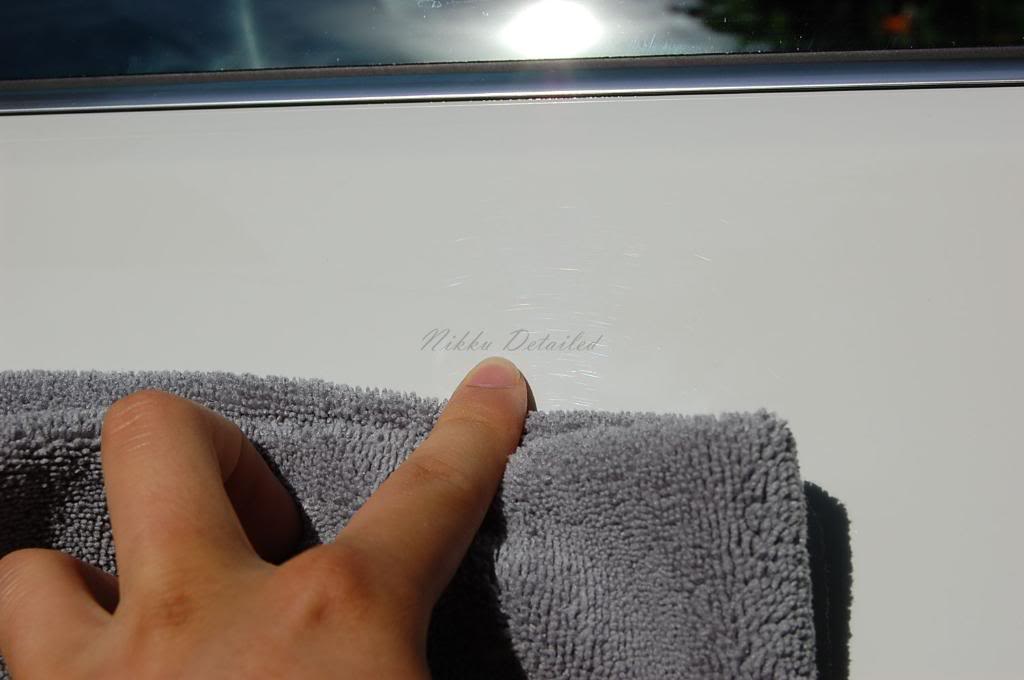
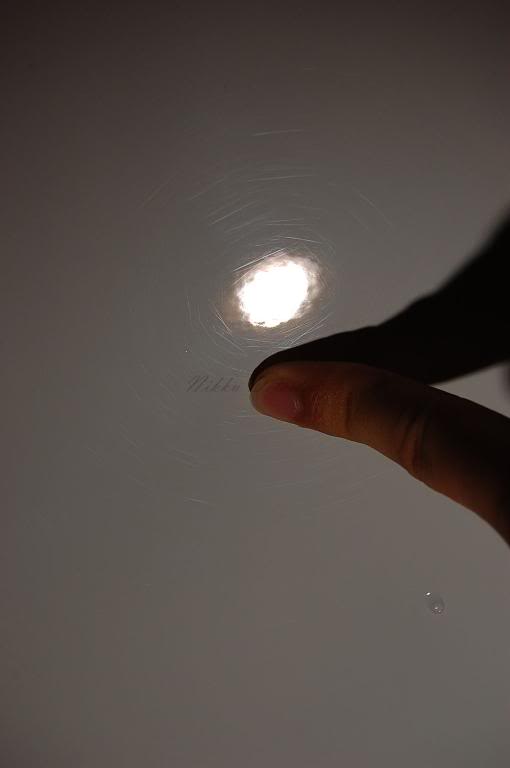
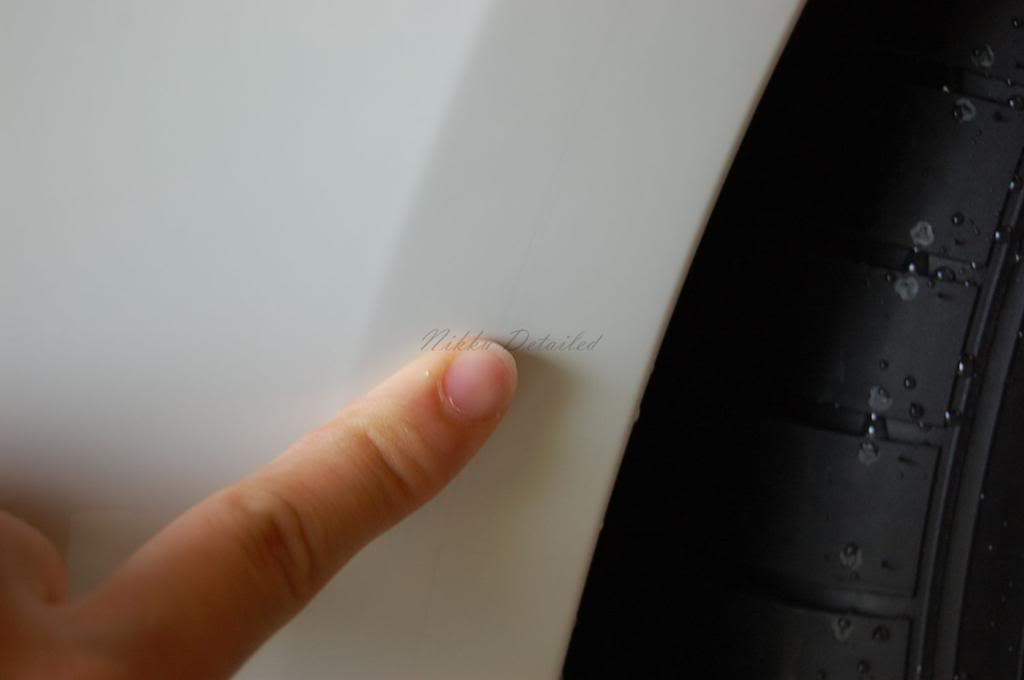
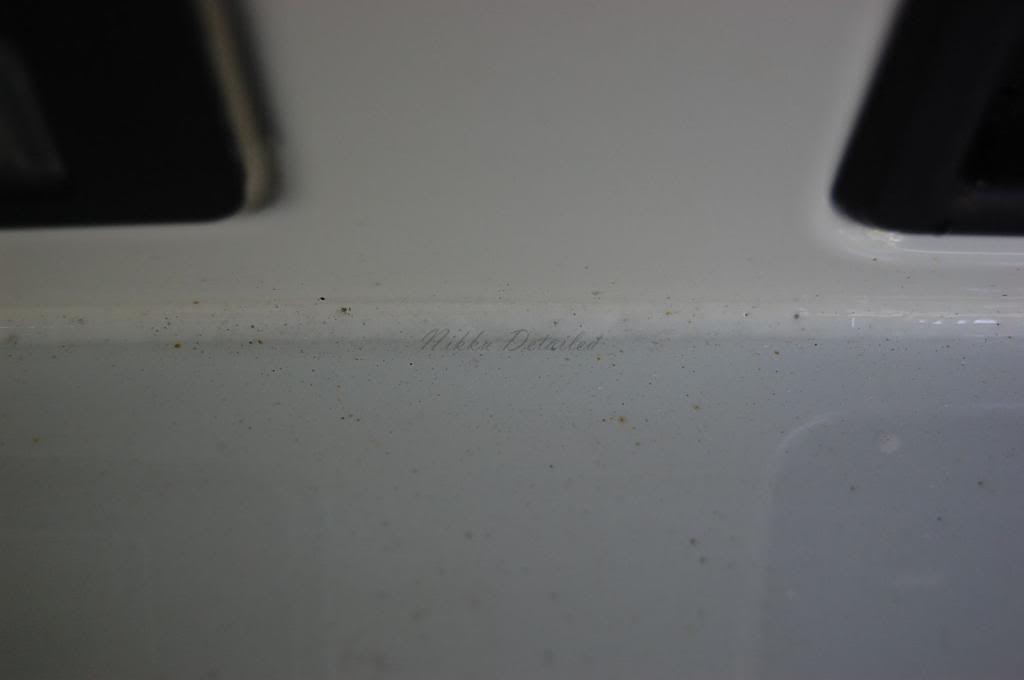
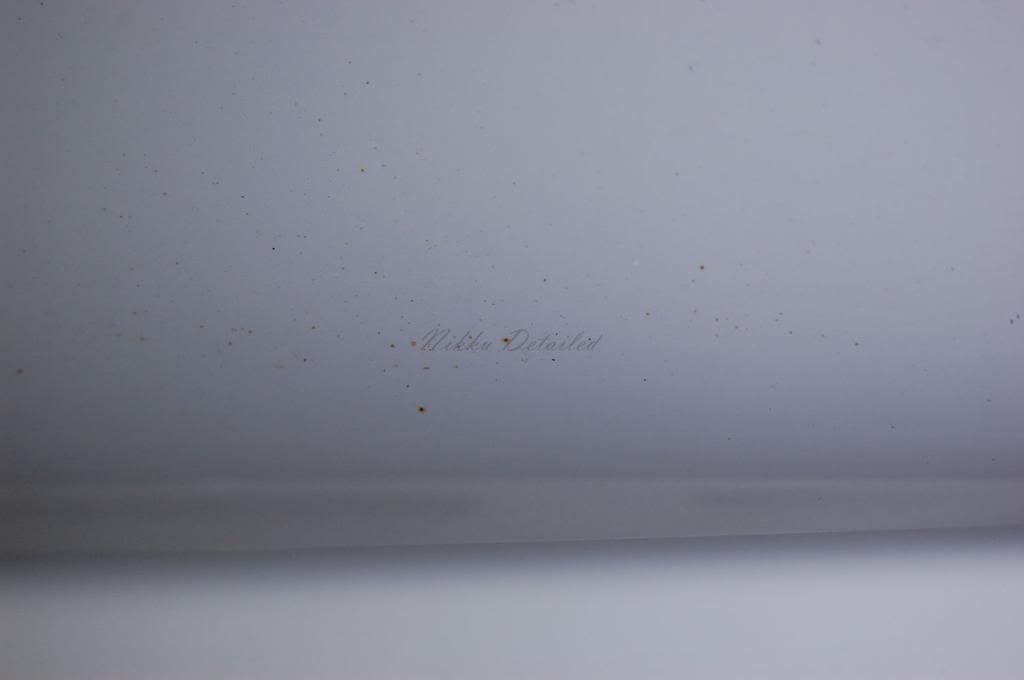
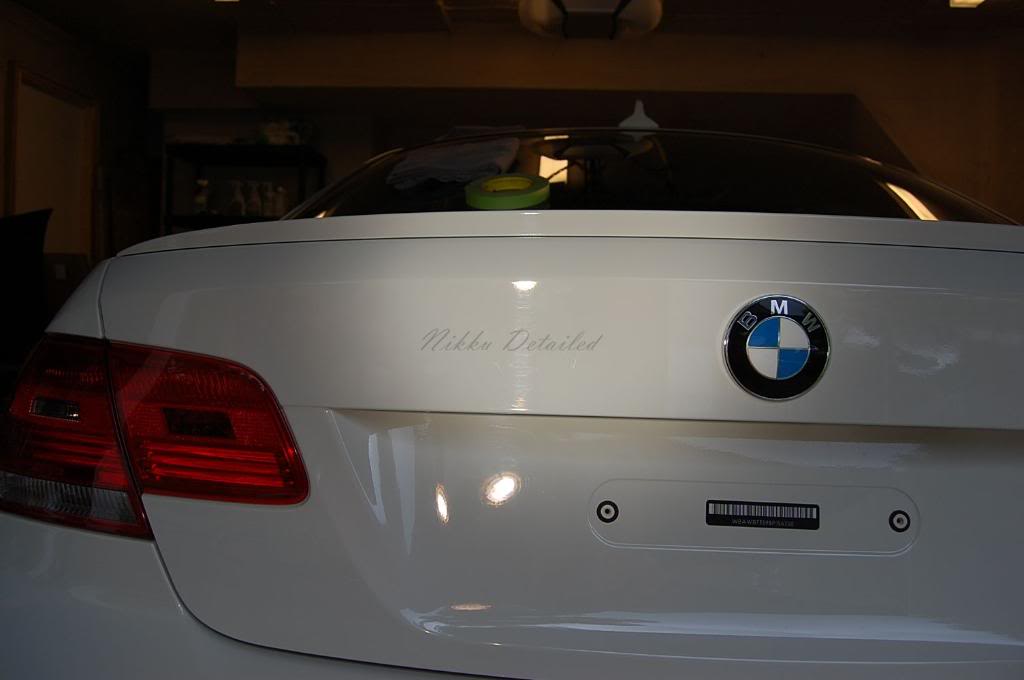
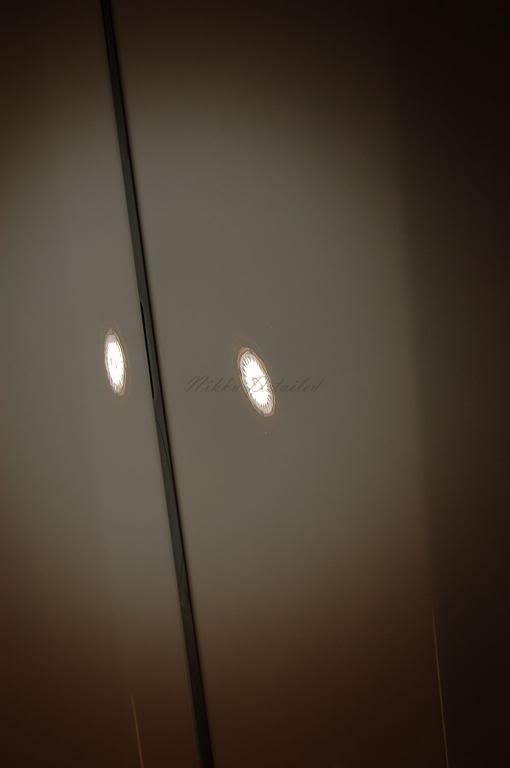
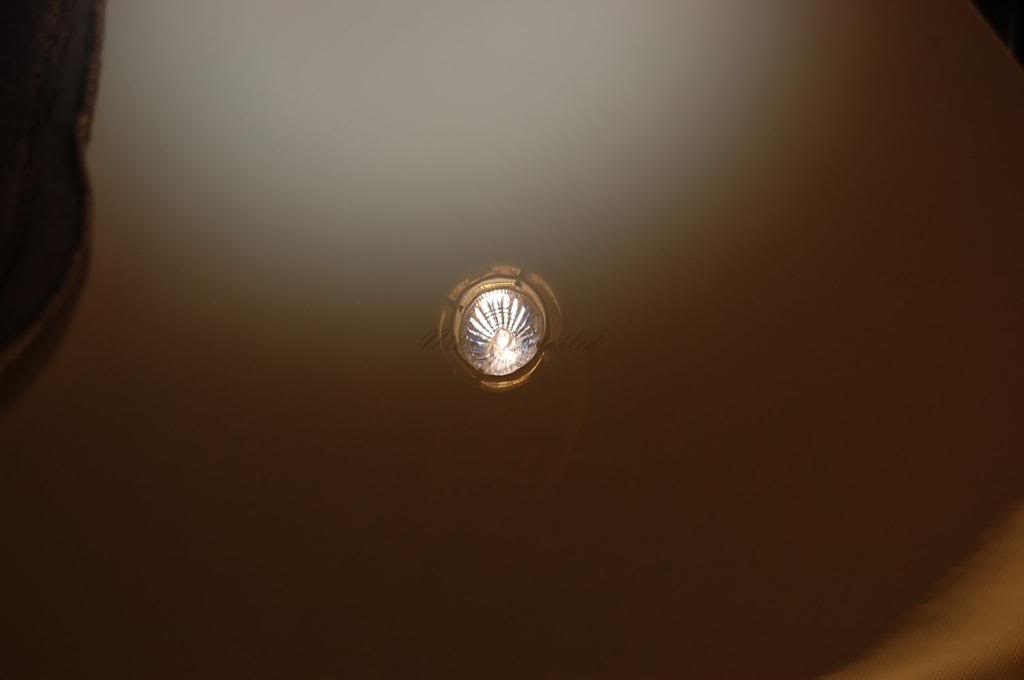
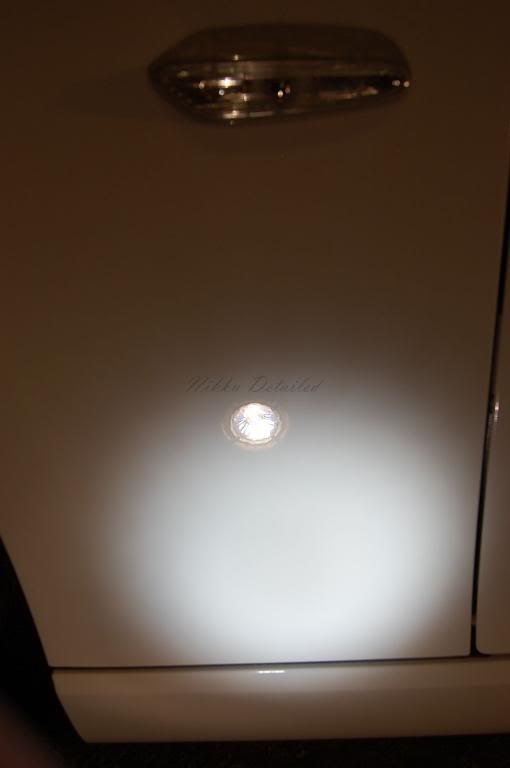
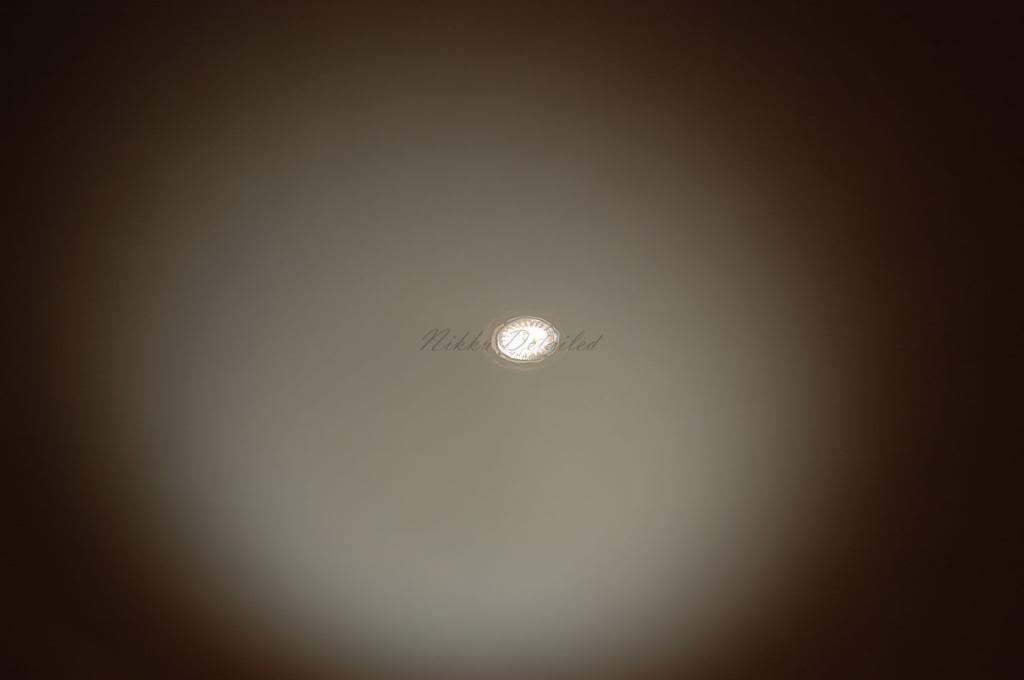
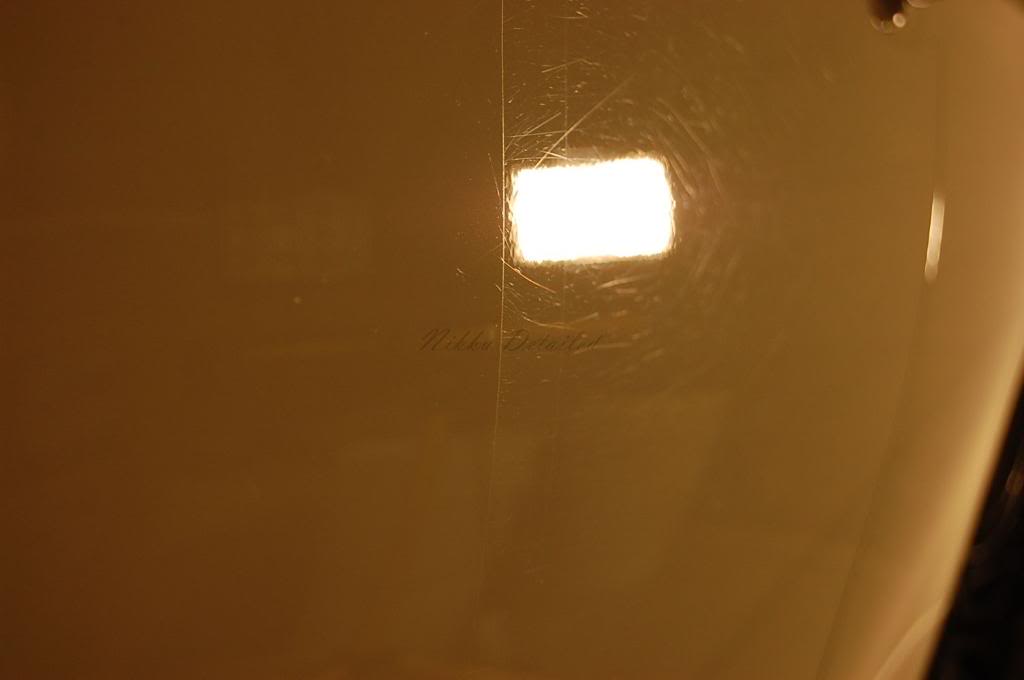
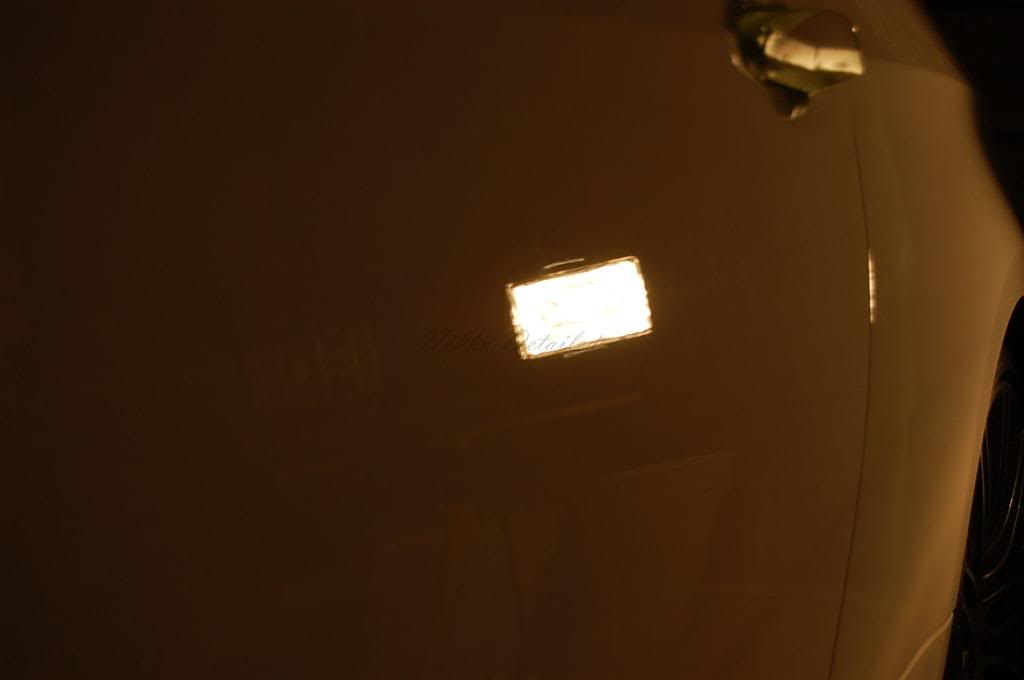
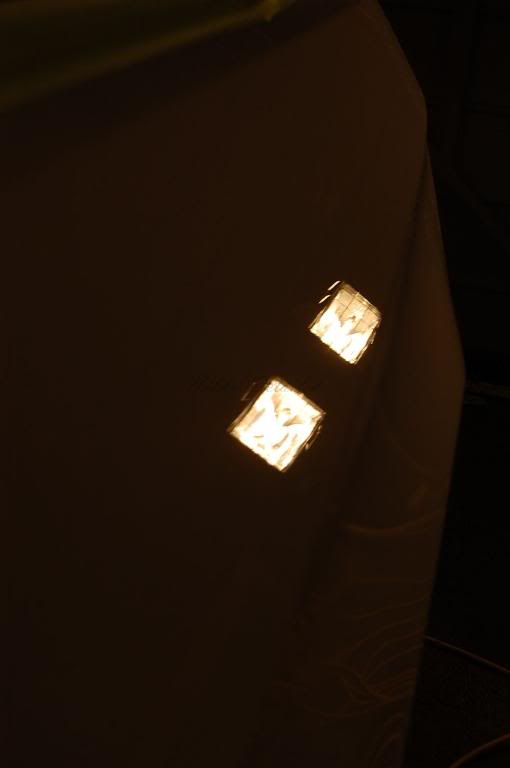
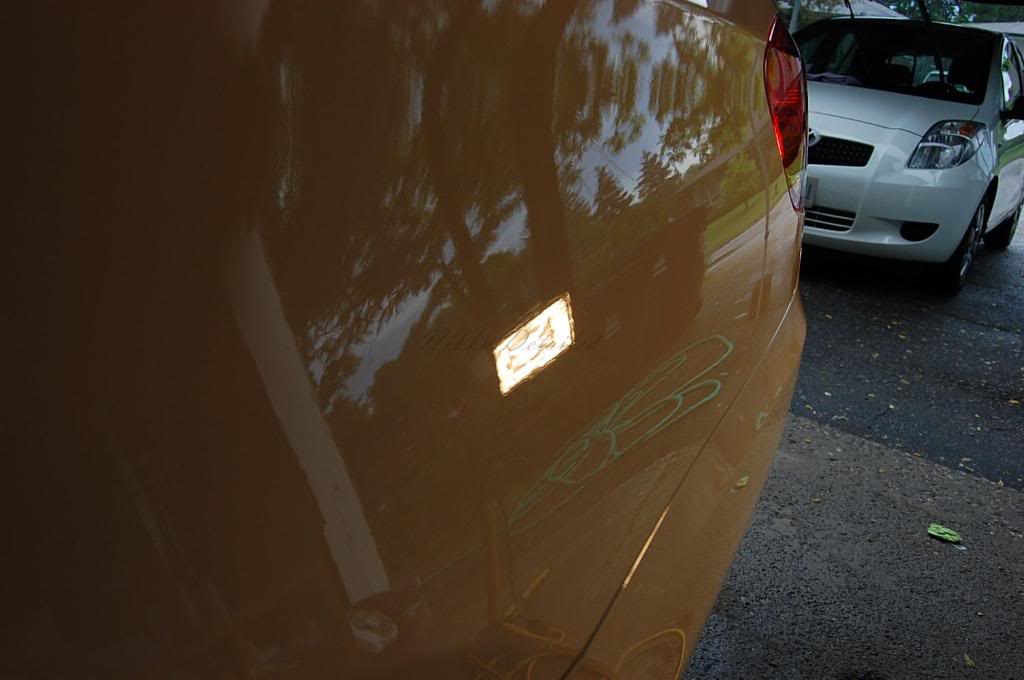
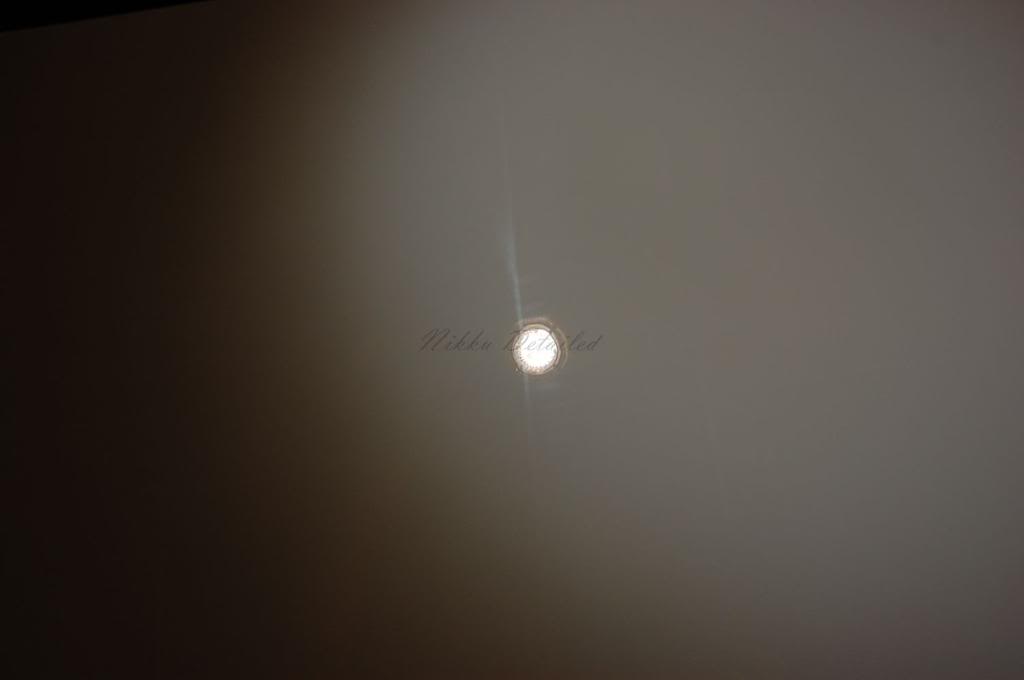
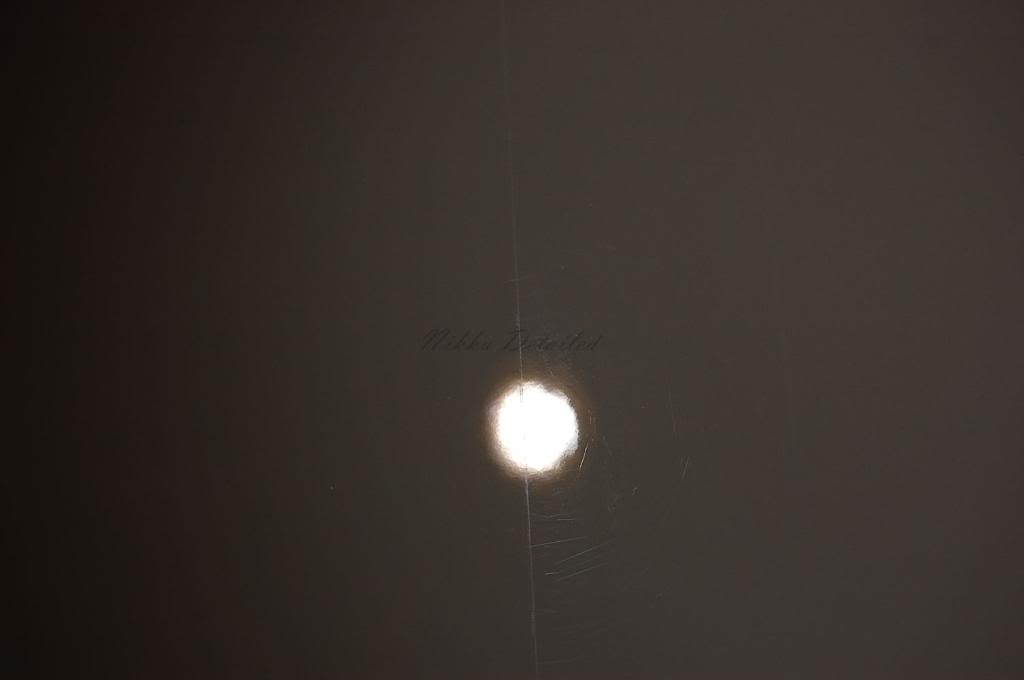
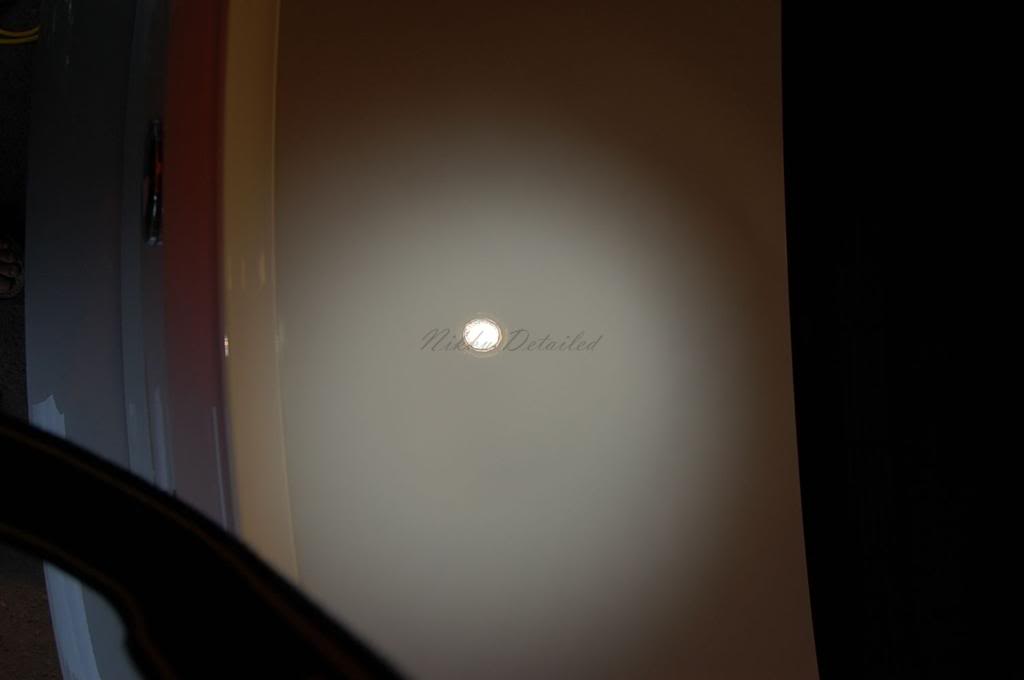
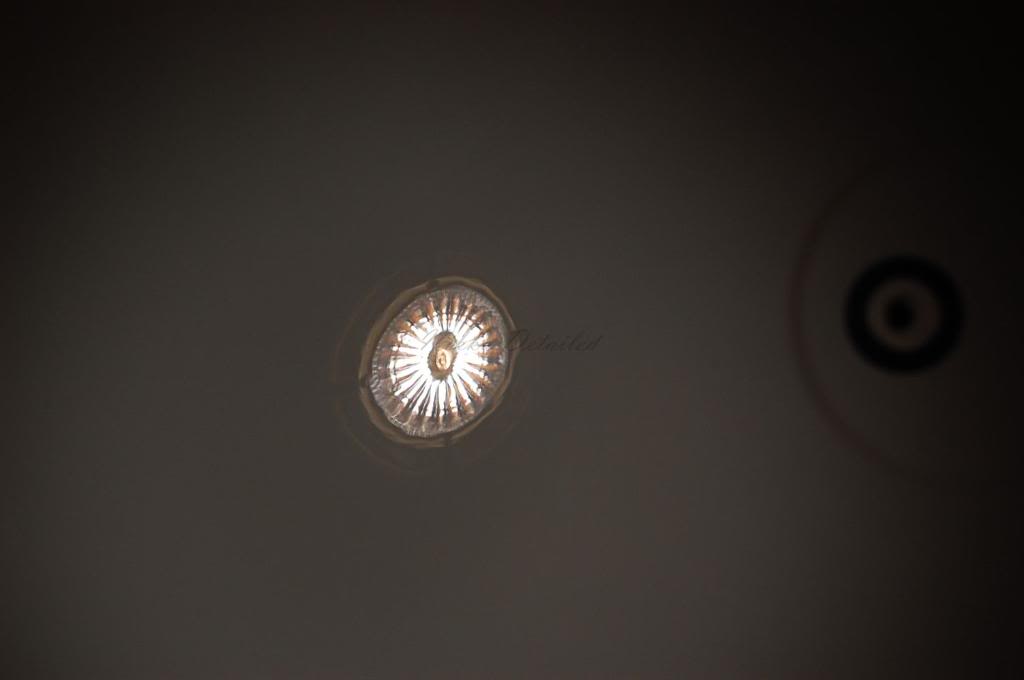
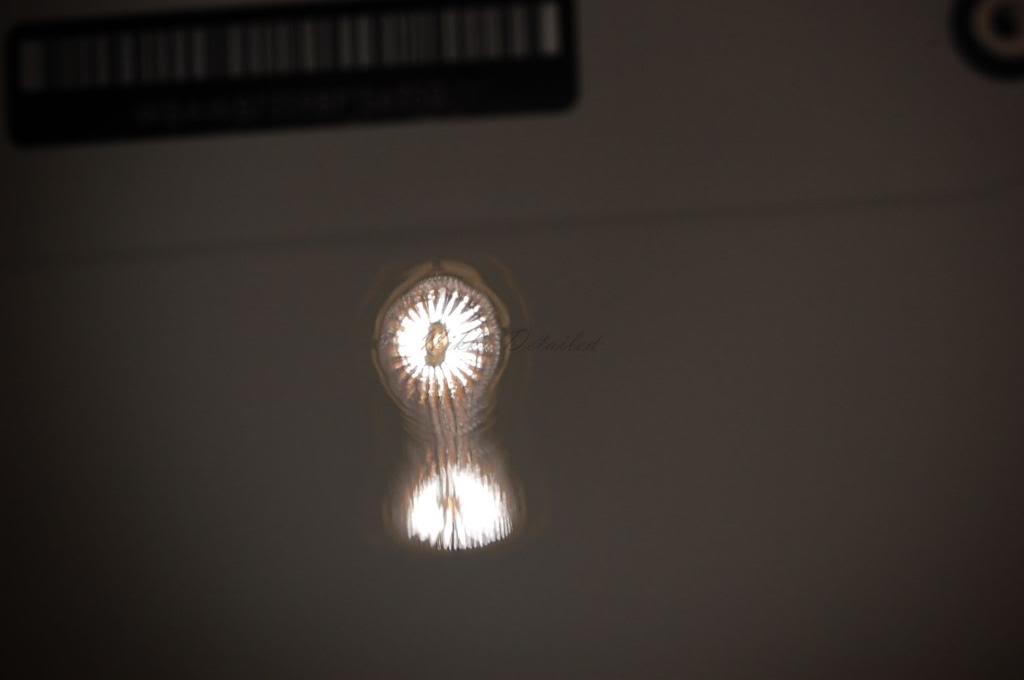
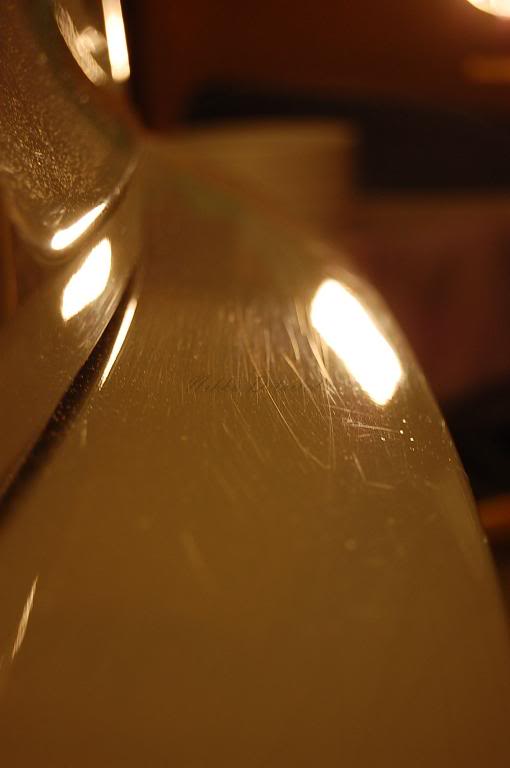
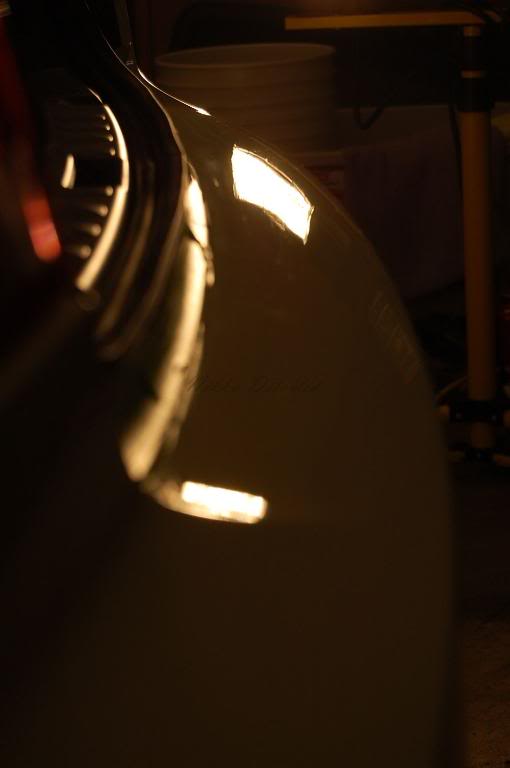
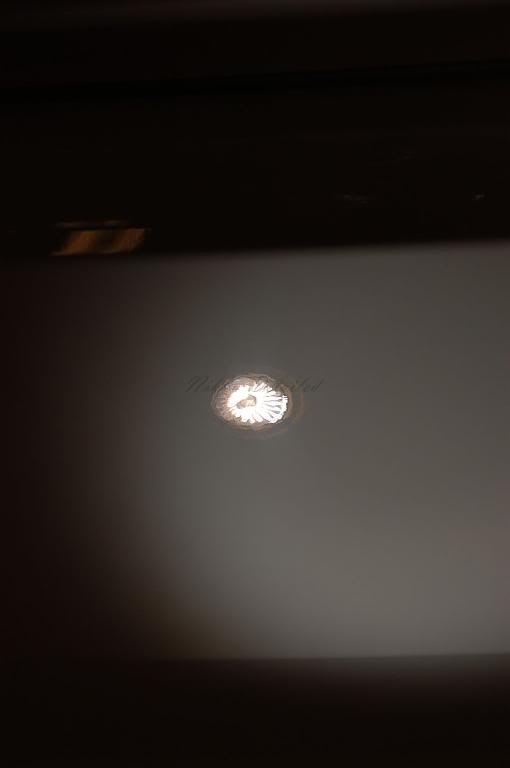
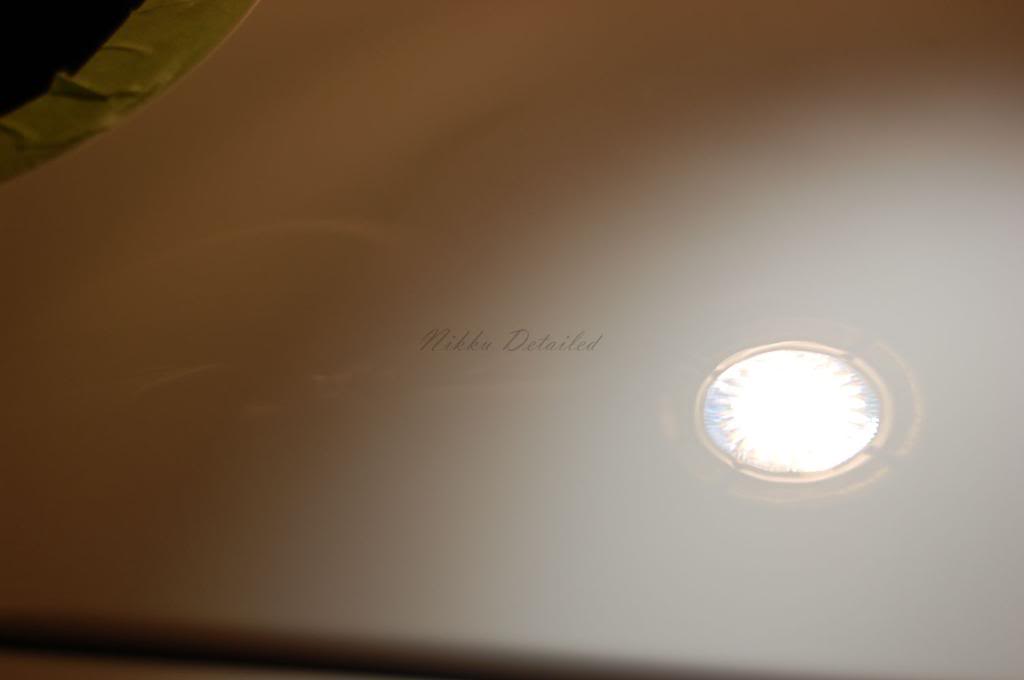
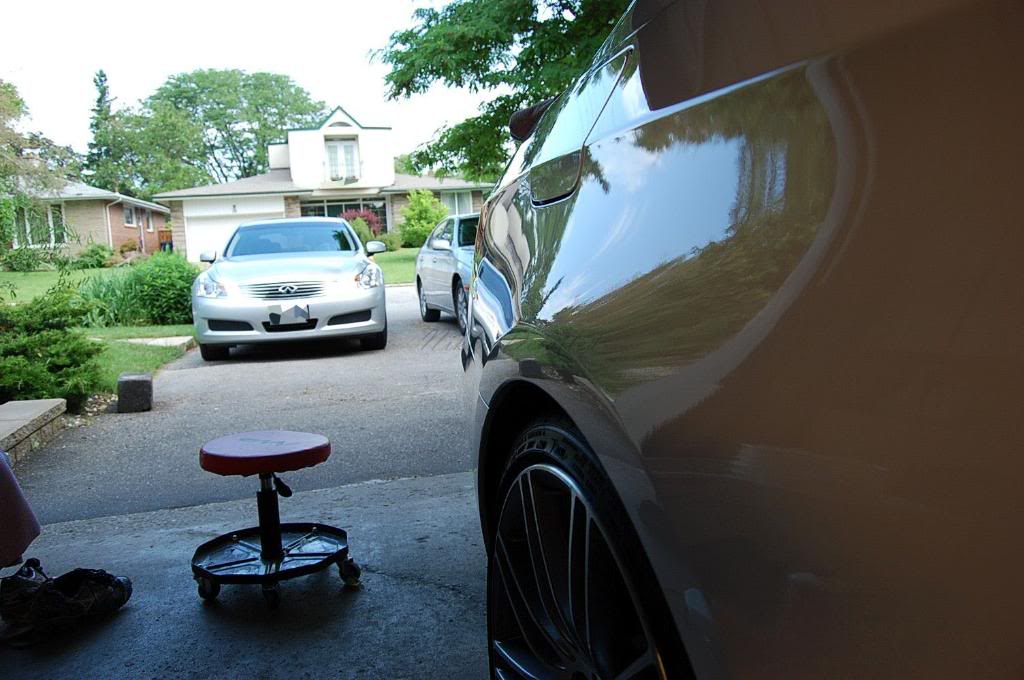
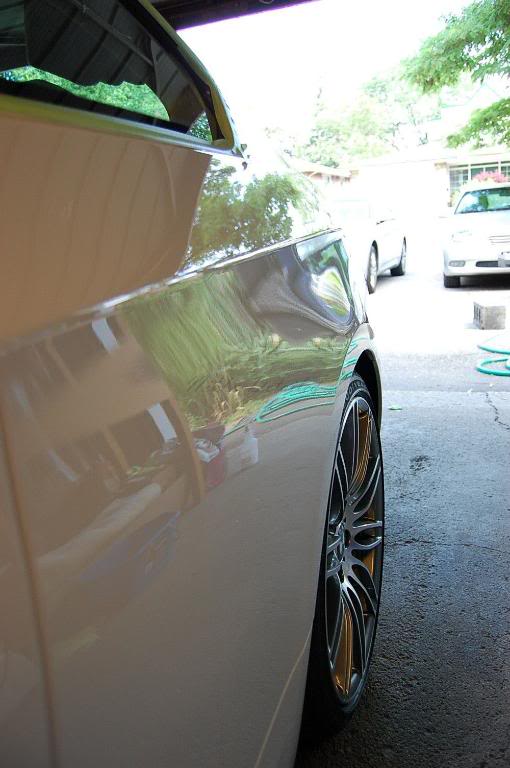
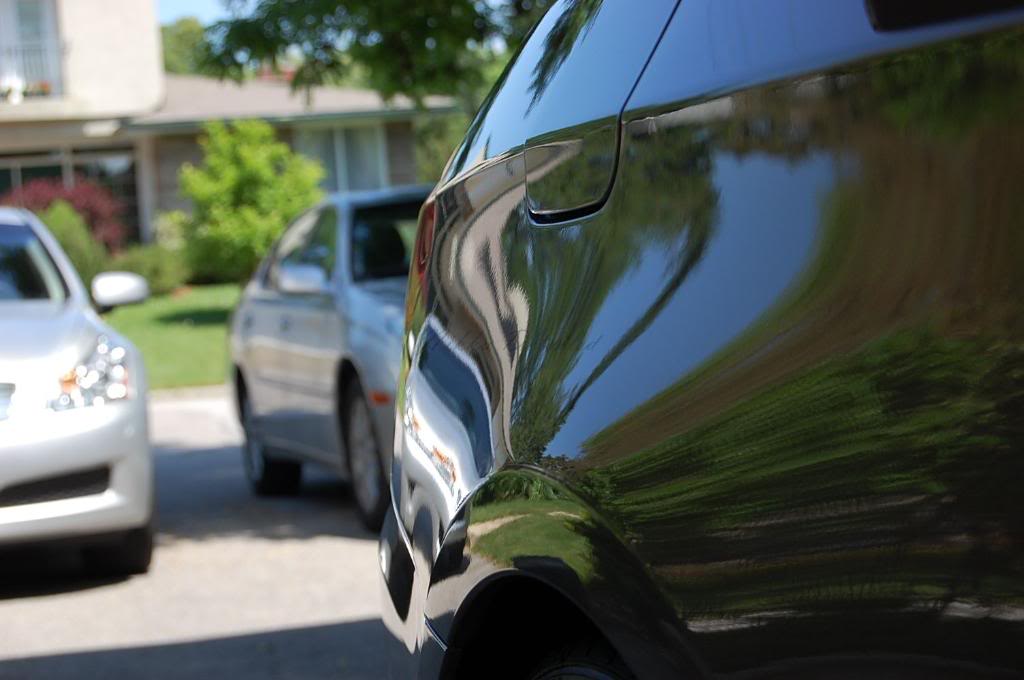
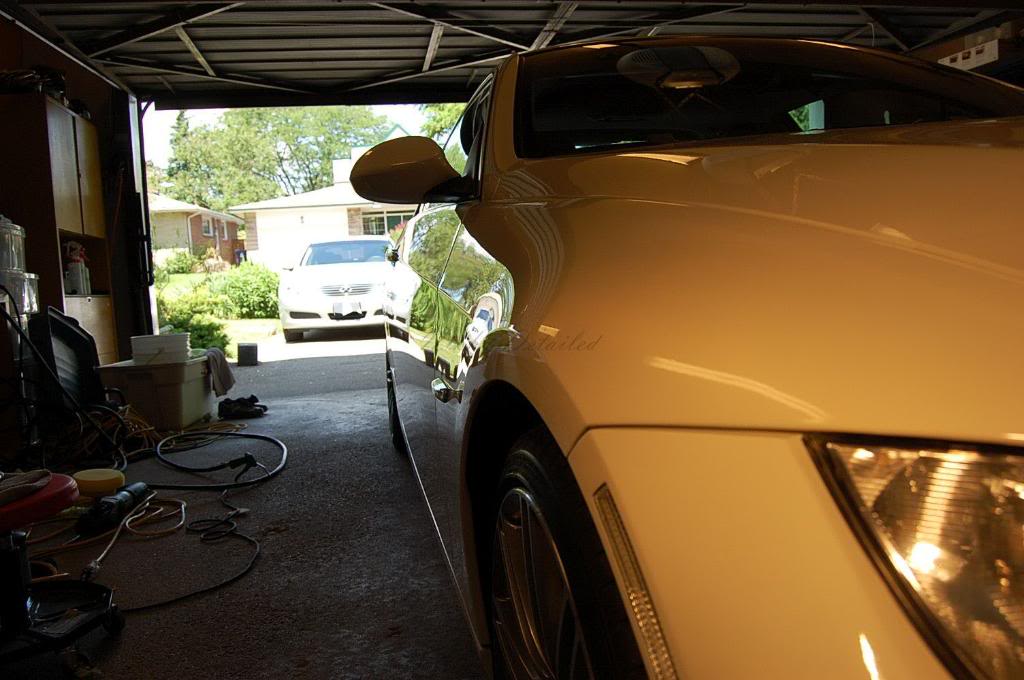
Alright so lets begin with the before pictures. The before pictures consist of quite a few sun shots. You'll notice the obvious swirls but if you take particular close attention that the RIDS are mainly deep straight lines. I would assume that this is from road debris on the highway just skipping off or nicking the paint. It was my fault that I did not notice how deep the RIDS were. The RIDS definitely did not pass the finger nail test .
.

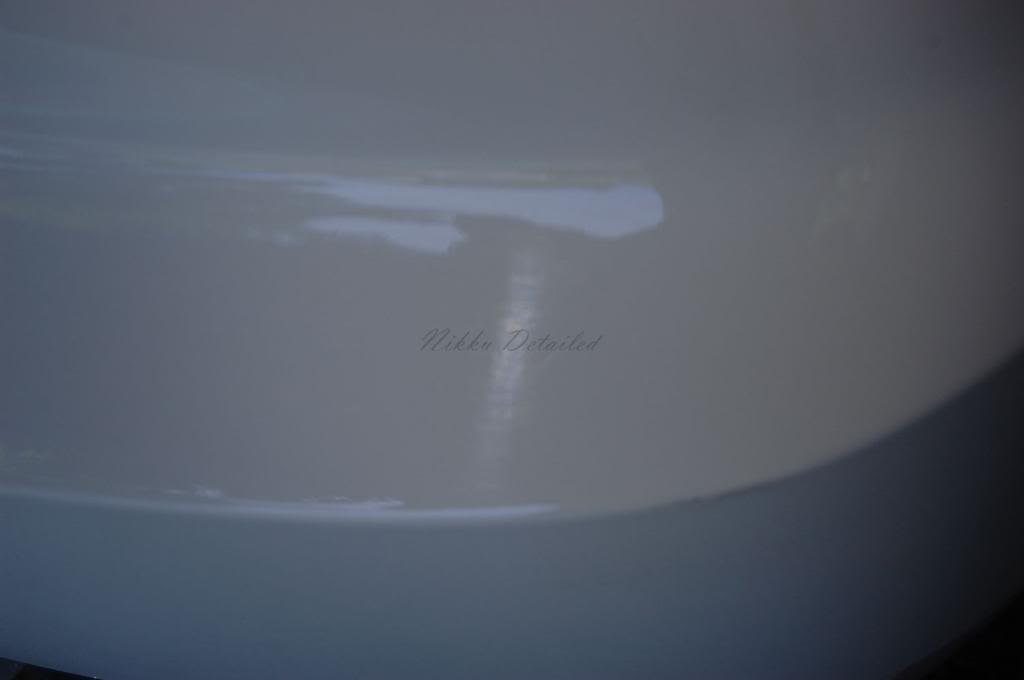
Ok so lets move on to the correction side of things. The first picture below is the hood. I first started off with the combination of Sonus White and Ultrafina. That barely did anything and just did not make a significant different. I bumped it up to Sonus White and PF and it got rid of the light swirling easily however the RIDS were a different matter. I made 3 passes and it barely made a dent on the test panel. I resorted to Sonus Yellow and PF, it shaved a little off the RIDS but not enough so I finally settled on PG and yellow then followed it up with White SIP, White PF then Blue Ultrafina. The result is what you see below.
50/50 of driver side door.
Driver side door completely cleared up.
50/50 Trunk
50/50 Trunk
Trunk Cleared up
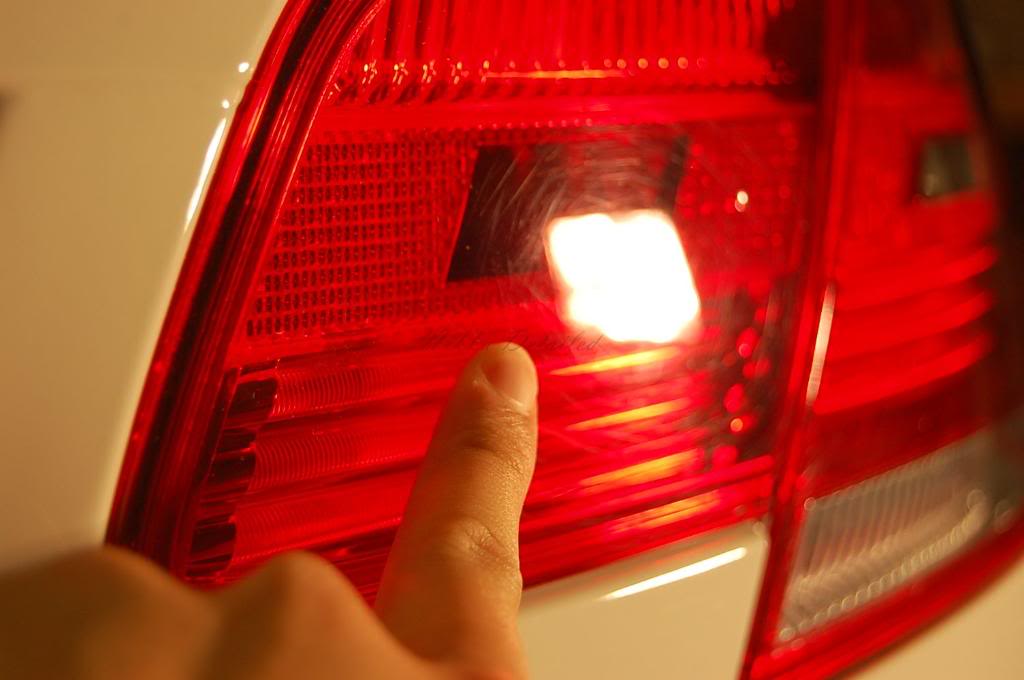
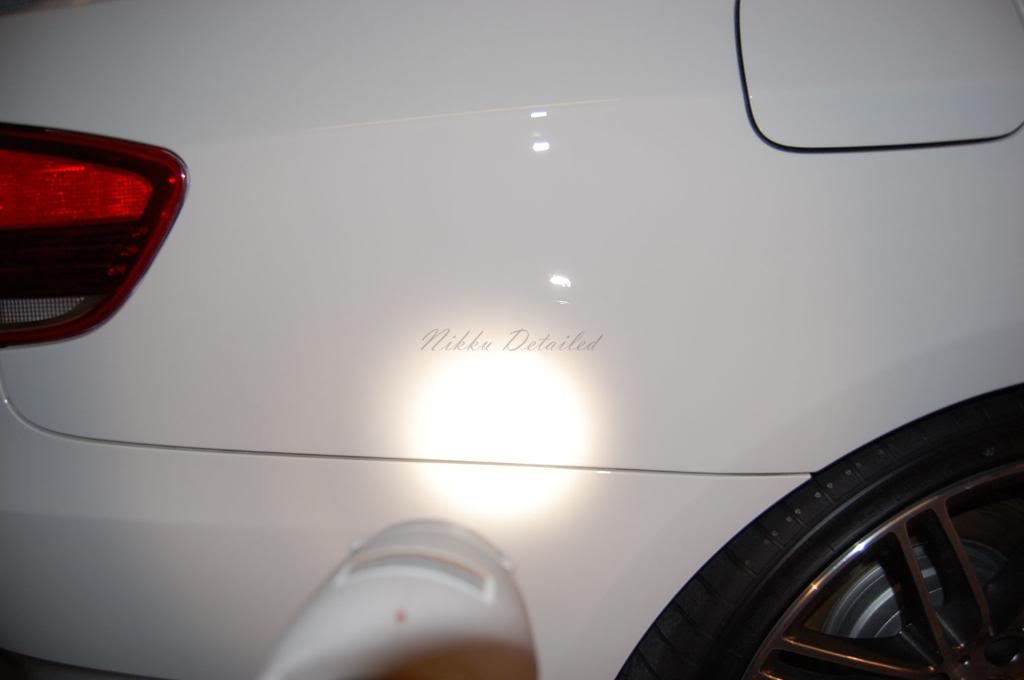
The rear lights has a bit of swirling and that was looked after with the LC orange spot pad with PF and followed up with LC white spot pad 3M ultrafina.

Cleared up
License Plate Area cleared left side. Spot pads were used for this. The bumper was also propped up with my polishing bottles to provide easier access.
Other side of plate Area cleared up
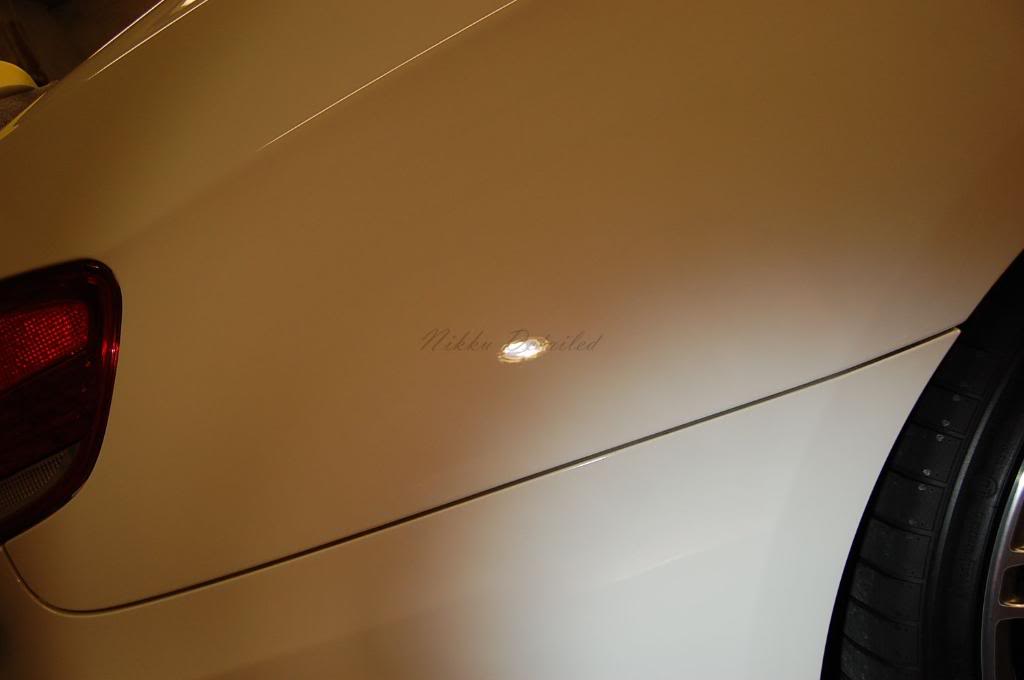
Nasty bumper scratches. I didn't like this part so much but what is a detailer to do
Spot pads were used to address the bumper. The trunk was opened to polish and the plastic on the trunk was taped up to protect it.
Cleared up
Bumper Cleared
Roof Cleared up
Roof Cleared up
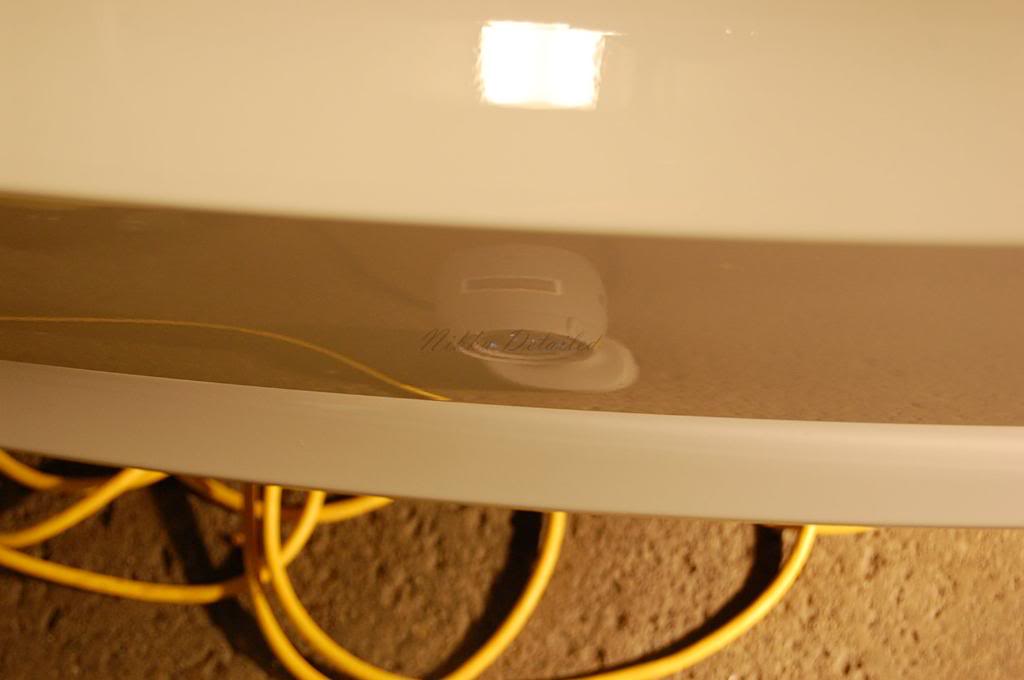
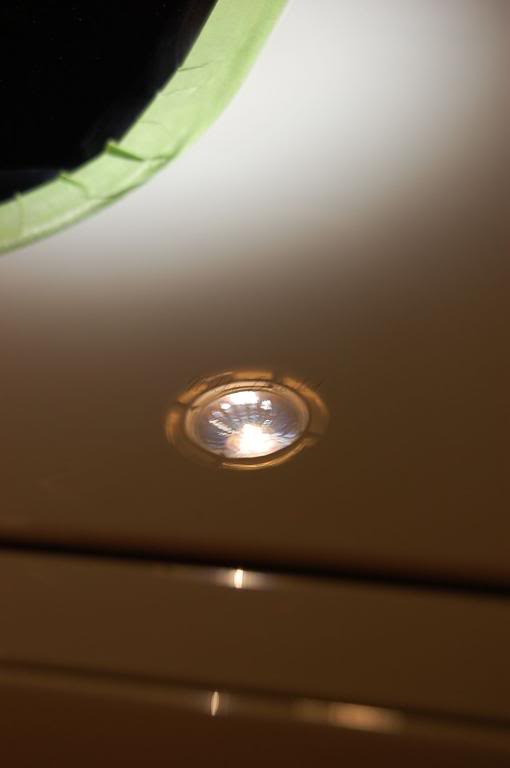
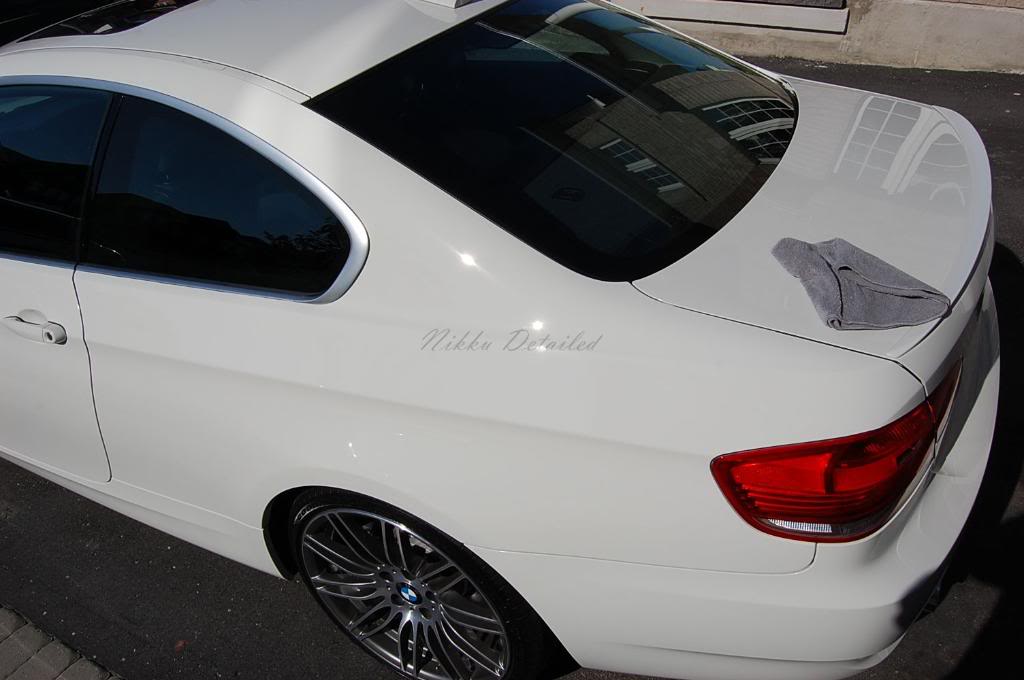
A few after polishing moments before LSP.
These were my favourite shots. The paint just looks like candy. I fell in love

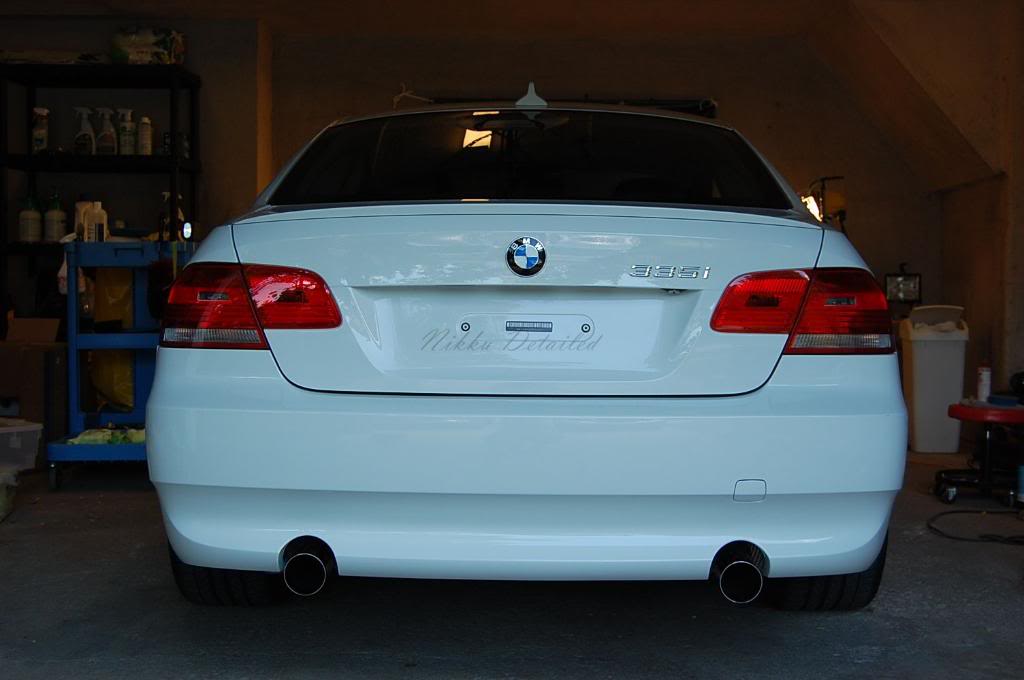
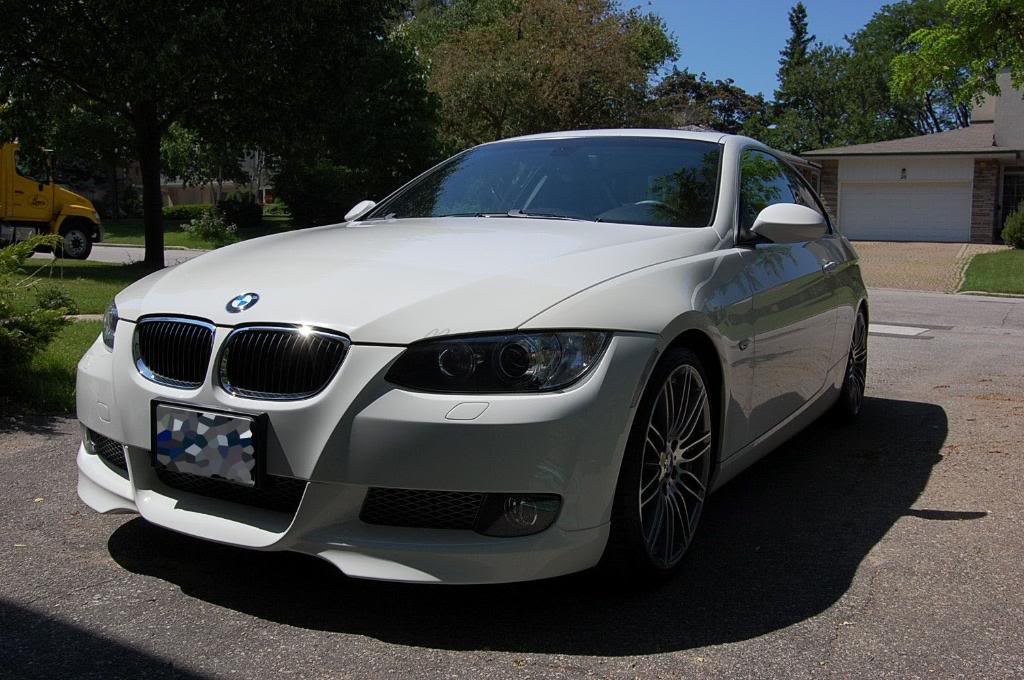
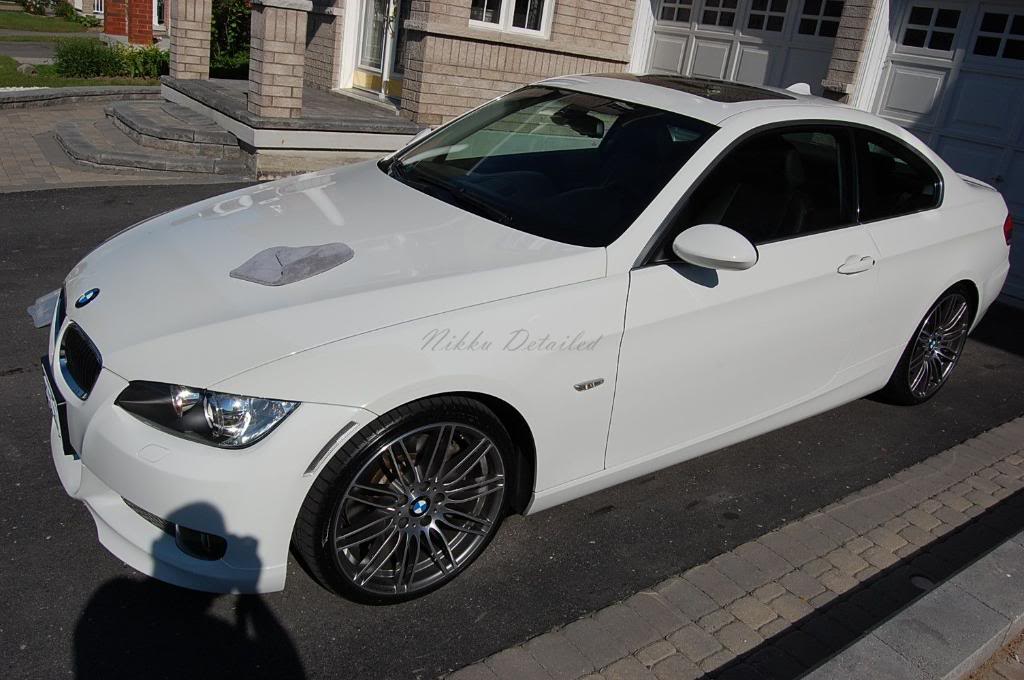
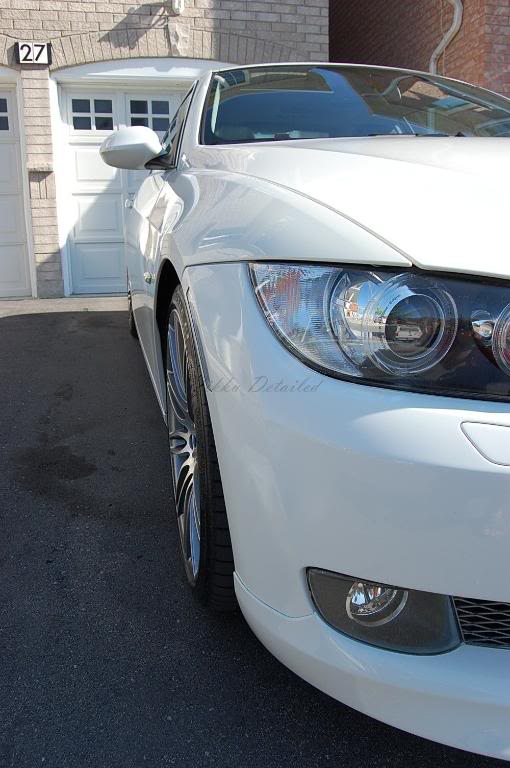
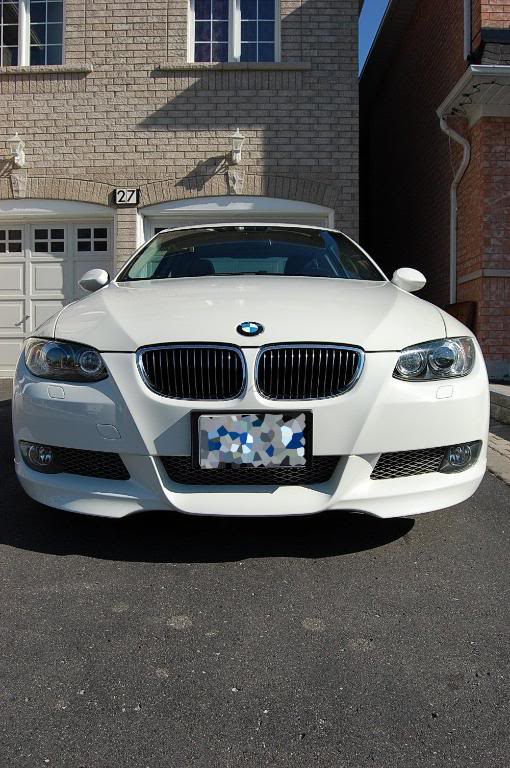
AFTERS
Ok so we are finally here. These are pictures of the vehicle polished up and LSP'd. I notice after taking taking the initial after pictures and looking at them on the computer that I missed a few spots that I didn't buff the sealant off. The sun just messes up your eyes after staring at it and bright lights for a while lol. By this time the client had taken delivery of the vehicle but I drove over to look after the car and buff out the couple of unbuffed sealant spots and re applied Zaino Grand Finale and took the remainder sun shots of the vehicle. I hope everyone enjoys the pictures and thanks again to the client for being so amazing.

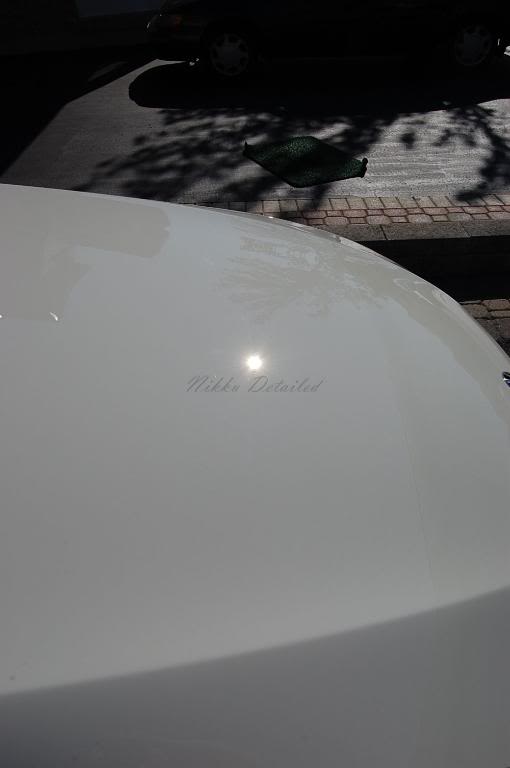
I know the towel... Sorry

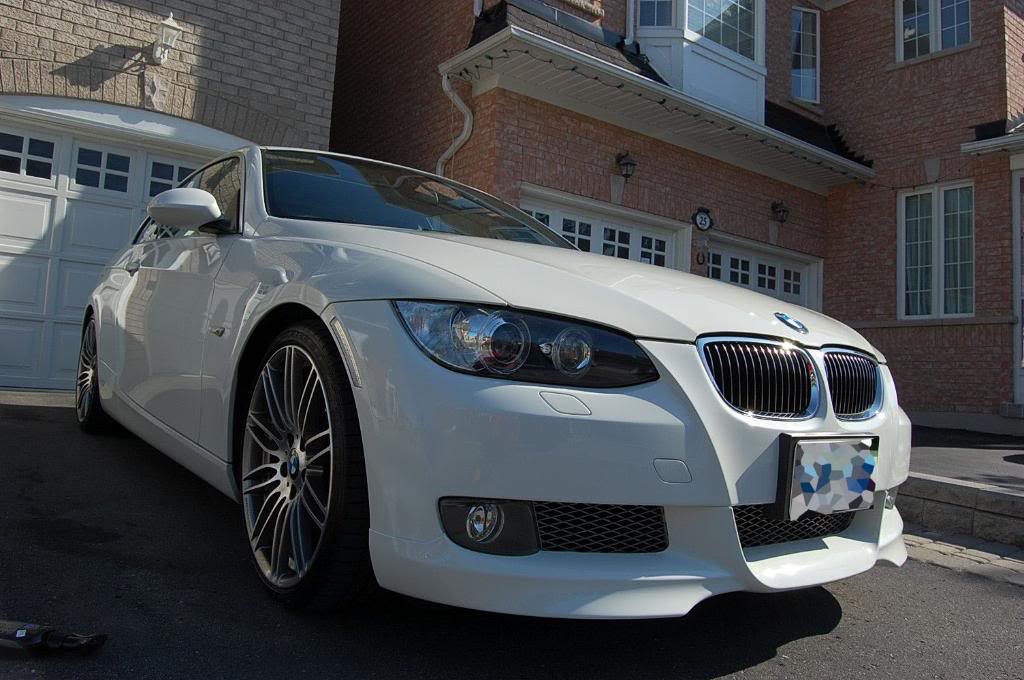
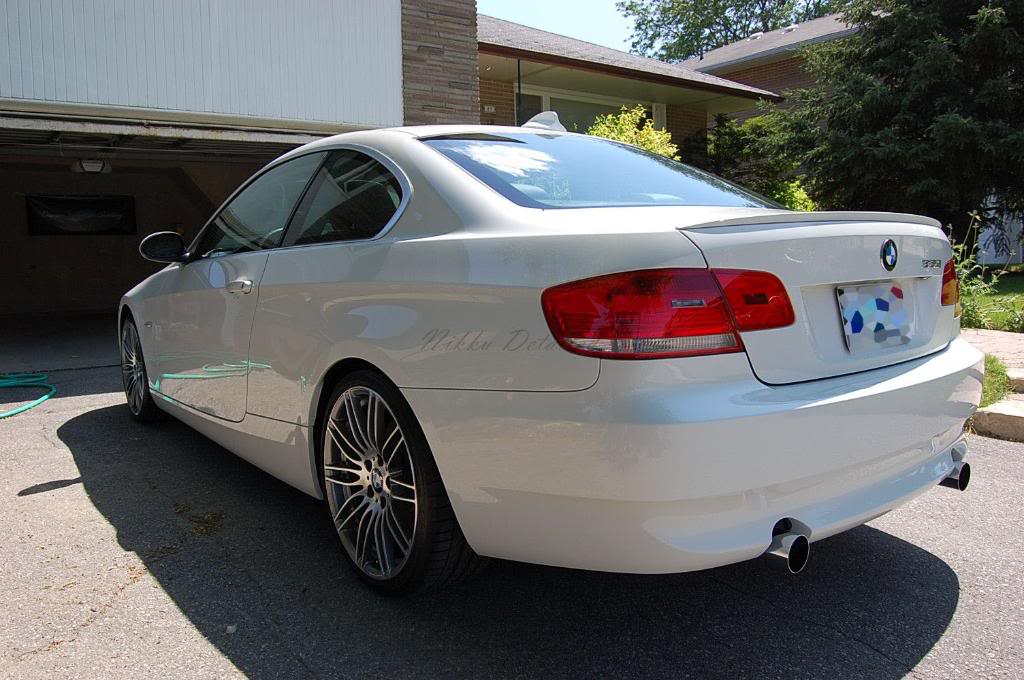
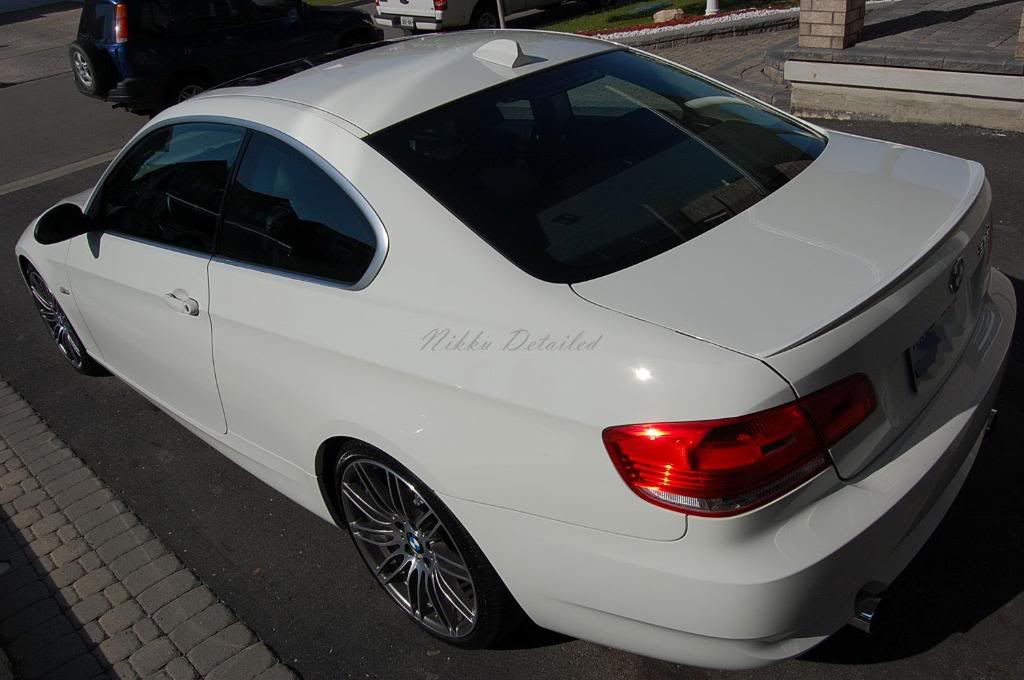
This is one of my favourite pictures of the car . It shows a really nice stance.
Thanks for looking everyone.
Had a client bring in his 335i originally for a one step polish but upon review of the vehicles paint there were tons and i mean tons of RIDS. The vehicle had light swirling which was easily taken care off. I resorted to Sonus Yellow and Power Finish and Sonus White with 3M Ultrafina for the swirling and for the RIDS and certain heavily swirled areas around the driver door, passenger door and bumper area with Sonus Yellow in combination with PG, followed up with SONUS white SIP, SONUS white PF, SONUS BLUE Ultrafina. For RIDS that did not come in bunches I resorted to LC Spot pads to keep the heavy polishing down to a minimum to keep the integrity of the clearcoat.
The client was great and understood the need to take the neccesary time to complete the work properly and I appreciated his patience. He car is his daily driver and has chalked up many healthy kilometres.
Anyways to the process and pictures.
Wash
2 Bucket Method
Meguiars Gold Class
1 bucket for Wheels
Wheel Brush
Tire Brush
EZ Detail Brush
Sheep Skin Mitts
Paint Correction
Sonus Yellow
Sonus White
Sonus Blue
LC 4 inch Yellow
LC 4 inch Orange
LC 4 inch White
Menzerna Power Gloss
Menzerna SIP
Menzerna PF
3M Ultrafina
3M Backing Plate
RB Backing Plate
Metal Polishing (exhaust tips)
3M Ultrafina
P21S Metal Polish
0000 Steel Wool
Equipment
2 Halogen Lights
3M Sun Gun
Fenix TK10
Air Compressor
Metabo Polisher
Metabo x 2
LSP
Zaino Z2Pro
Zaino Grand Finale
Befores
Alright so lets begin with the before pictures. The before pictures consist of quite a few sun shots. You'll notice the obvious swirls but if you take particular close attention that the RIDS are mainly deep straight lines. I would assume that this is from road debris on the highway just skipping off or nicking the paint. It was my fault that I did not notice how deep the RIDS were. The RIDS definitely did not pass the finger nail test
.Ok so lets move on to the correction side of things. The first picture below is the hood. I first started off with the combination of Sonus White and Ultrafina. That barely did anything and just did not make a significant different. I bumped it up to Sonus White and PF and it got rid of the light swirling easily however the RIDS were a different matter. I made 3 passes and it barely made a dent on the test panel. I resorted to Sonus Yellow and PF, it shaved a little off the RIDS but not enough so I finally settled on PG and yellow then followed it up with White SIP, White PF then Blue Ultrafina. The result is what you see below.
50/50 of driver side door.
Driver side door completely cleared up.
50/50 Trunk
50/50 Trunk
Trunk Cleared up
The rear lights has a bit of swirling and that was looked after with the LC orange spot pad with PF and followed up with LC white spot pad 3M ultrafina.
Cleared up
License Plate Area cleared left side. Spot pads were used for this. The bumper was also propped up with my polishing bottles to provide easier access.
Other side of plate Area cleared up
Nasty bumper scratches. I didn't like this part so much but what is a detailer to do
Spot pads were used to address the bumper. The trunk was opened to polish and the plastic on the trunk was taped up to protect it.
Cleared up
Bumper Cleared
Roof Cleared up
Roof Cleared up
A few after polishing moments before LSP.
These were my favourite shots. The paint just looks like candy. I fell in love
AFTERS
Ok so we are finally here. These are pictures of the vehicle polished up and LSP'd. I notice after taking taking the initial after pictures and looking at them on the computer that I missed a few spots that I didn't buff the sealant off. The sun just messes up your eyes after staring at it and bright lights for a while lol. By this time the client had taken delivery of the vehicle but I drove over to look after the car and buff out the couple of unbuffed sealant spots and re applied Zaino Grand Finale and took the remainder sun shots of the vehicle. I hope everyone enjoys the pictures and thanks again to the client for being so amazing.
I know the towel... Sorry
This is one of my favourite pictures of the car . It shows a really nice stance.
Thanks for looking everyone.

Thread
Thread Starter
Forum
Replies
Last Post
Nikku
Car Care / Detailing / Paint / Visual Mods
0
Jun 27, 2009 11:23 PM
Nikku
Car Care / Detailing / Paint / Visual Mods
4
Jun 5, 2009 04:43 PM
Nikku
Car Care / Detailing / Paint / Visual Mods
0
Apr 12, 2009 10:51 PM
Nikku
Car Care / Detailing / Paint / Visual Mods
4
Apr 11, 2009 07:15 AM
Nikku
Car Care / Detailing / Paint / Visual Mods
0
Mar 31, 2009 01:40 PM
Currently Active Users Viewing This Thread: 1 (0 members and 1 guests)